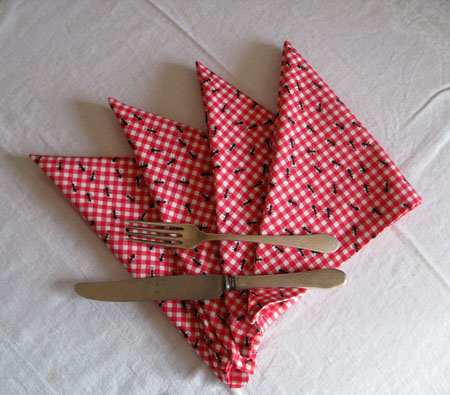
Dinner Napkins With A Rolled Hem Finish

Many people use cloth napkins instead of paper ones, not because it’s better for the landfills and forests (though it is) but because they’re superior to the paper ones. At the dinner table they are much more satisfying to wipe fingers on (they won’t tear) and they’re big enough and tough enough to clean up spills and other little table emergencies.
Another benefit of using cloth napkins is that they’re frugal because they can be washed and used again and again, you save money on buying paper napkins every month. The best part is that they’re really easy to make yourself. This is an excellent project for a beginner sewer and a super quick one for an experienced sewer. It takes only 1 yard of fabric to make 4 generously sized cloth napkins.

You can make them all match or you can make them to mix and match.

You can make them out of many different fibers but I suggest using either a 100% cotton or a 100% linen or a combination of linen and cotton. I would avoid using any synthetics. My supplies list assumes you already have scissors and other necessities of sewing such as an iron.
What you will need:
1 yard of fabric
matching thread

Step 1: Fold your yard of fabric in half, and then in half again. Use a ruler to mark straight square lines in an 18″ x 18″ size. If your yard is a little short you may need to cut your squares a little bit smaller to compensate which is fine, you’ll still have a nice sized napkin.

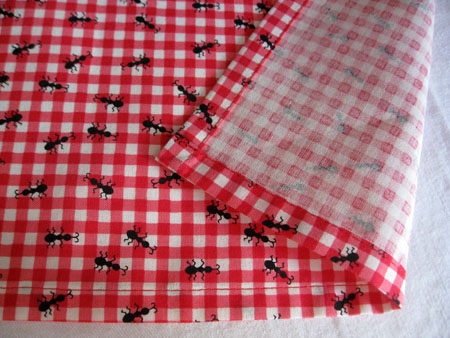
Step 2: On each napkin fold two parallel edges of the fabric under 3/8″ or 1/2″ and press them flat. Fold each of them under again the exact same width and press. (See the two pictures above to see the folded edges.)

Step 3: Stitch along the edge of the hem on all the pressed sides of the squares. Press again.

Step 4: On each napkin fold the remaining raw edges under 3/8″ or 1/2″ and press them flat. Fold each of them under the same width again and press.
Step 5: Stitch along the edge of the hem on all the pressed sides of the squares. Press again.
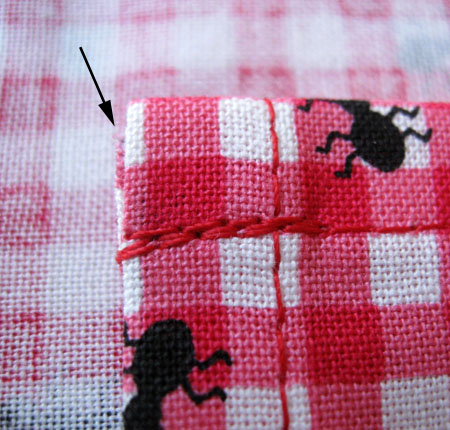
 Step 6: If you have any edges hanging out of the hem at the corners carefully trim it off. This isn’t necessary but will help your project look more professional. Do a final pressing.
Project notes: You can make your napkin hems as narrow or as wide as you’re comfortable with. I never measure when I make them, (though I suggest that all beginners use a seam gauge until they can consistently eyeball widths), and I nearly always end up right between 3/8″ and 1/2″ hems which is a fraction I don’t care to calculate. The important thing is that all your hems are the same width as each other.
I insist on a lot of pressing while sewing but once I’m done with a project I rarely ever press it again. With these dinner napkins you won’t need to press them after washing if you line dry or if you fold them immediately when they come out of the dryer. I recommend washing all fabrics in cold water and using a low setting on your dryer to prevent shrinking.

I adore the ant fabric!!! Perfect for a picnic.
That’s why I bought it. I just brought this set of dinner napkins with us to the beach a week ago. We brought sandwiches to eat. The fabric made me wish I had an actual picnic basket.
Actually, I do have a small picnic basket but I haven’t seen it for a long time. I need to look for it. A friend gave it to me. It looks like a little suitcase.
Thanks for sharing this. Fun blog!!!
Thank you for putting this out there. I have made my table runner but I wasn’t sure just how big I wanted to make my napkins. Now I will be ready for any special occasion. I plan to make my daughters napkins and runners for Christmas.
I’m so glad you found it useful! I need to make a bunch more for myself.