 If you have been wanting to learn to sew clothes but don’t know where to start or are intimidated and need some guidance – this is the place to begin and I am here to help you. Sewing clothes can be fun and rewarding and the more experience you gain the more control you’ll have over the details that make it worthwhile such as custom fit and custom design elements.
Pajama pants are an ideal simple pattern to start with. You’ll learn some basic sewing terms and skills and end up with a comfortable pair of pants to lounge in. C’mon – let’s make a pair together!
If you’re an experienced clothes sewer but you want to join this sew along for the fun of it – you are welcome to join! The instructions will be completely geared towards absolute beginners but you can ignore what you don’t need and speed ahead and meet us at the end for the show and tell.
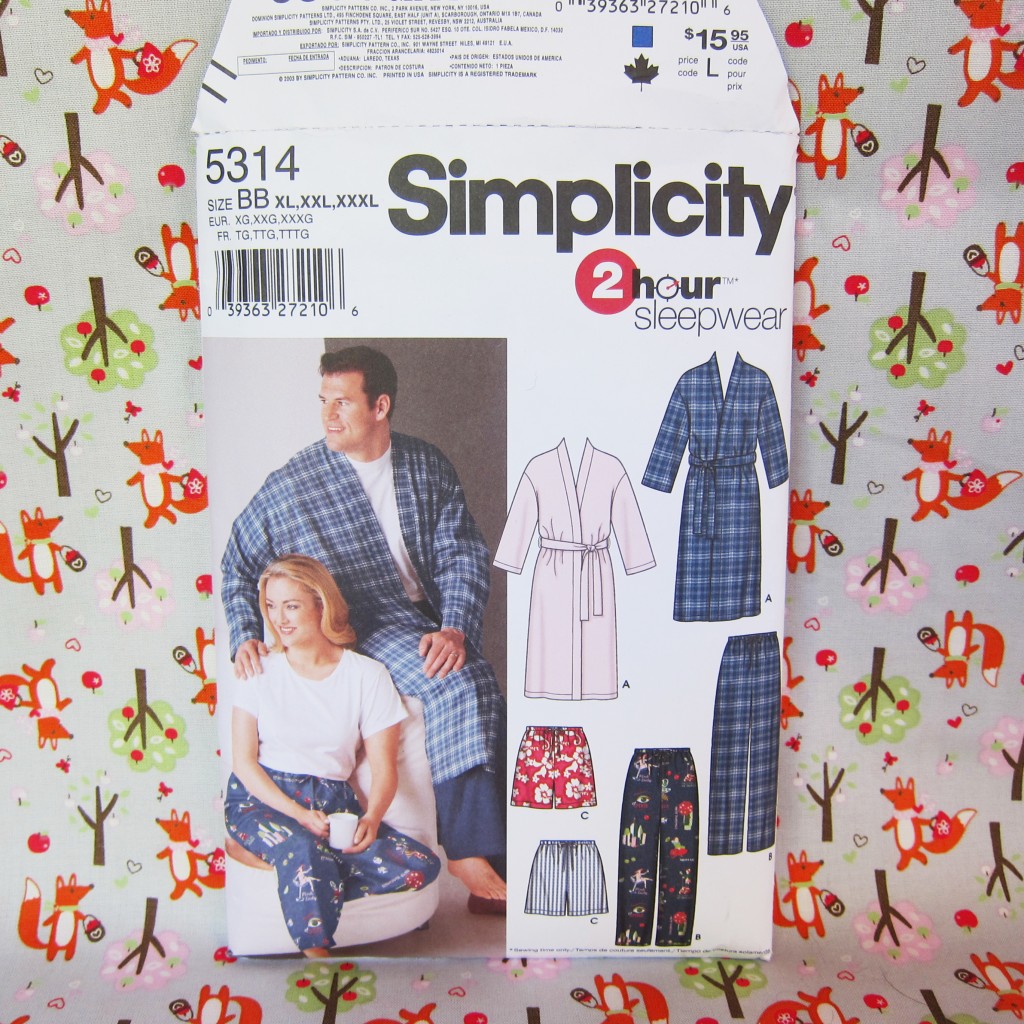
 “B” is the pattern we’ll be sewing but if you would like to make “C” instead – it’s the same pattern but shortened and I’ll be sure to explain how to shorten the pattern if any of you want to make the shorts.
How the sew-along will work:
The sew-along starts June 1st.
I will divide the project into 4 instructional posts that will be posted once a week. If you want to sew ahead because you can or you want to try – go for it. But it’s totally cool to take this project in small doses week by week – which I highly recommend for new sewers.
Tell me you’re joining in the comments section.
You can join without even telling me – just get the supplies and follow along.
When the project is finished everyone will submit a jpeg image of their finished pajama pants to my email (angelinawilliamson1(at)gmail(dot)com)and you will be entered to win the pair I’m making in XL in that adorable red fox fabric seen above. No photo of your finished pants – no entry.
But the most important reason to submit pictures of your finished project is so we can all share and enjoy each other’s work at the end. No judgements – just the fun of having made something together.
Supplies you will need to join this sew along:
A sewing machine or access to one.
An iron and ironing board.
Sharp fabric scissors.
Simplicity pattern #5314 in either in AA (S, M, L) or BB (XL, XXL, XXXL)
100% cotton fabric in the amount indicated for the size you’re sewing.
1 spool of matching thread.
1 yard of 1/2″ width elastic.
1 7/8 yard of 1/2″ twill tape.
How to choose your pattern size:
Forget about what size you are in off the rack clothing. It bears no relation to what size you wear in commercial patterns. It’s all about measurements. For this pattern you need to know what your waist and hip size is. Look on the pattern envelope at the “Body Measurements” section. Find the size that comes closest to your measurements.
How to take your body measurements.
A tip: if your waist is larger than your hips – choose the size that matches your waist measurement. If your hips are larger than your waist – pick the size that matches your hips. If you’re measurements are between sizes – always ALWAYS pick the larger size. It is much easier to cinch a waistline in than to adjust the pattern to make the waistline bigger.
This is not the time to be vain about numbers. You’re going to put your time and energy into making something fabulous for yourself – for it to be truly fabulous it needs to actually fit you.
How to choose your fabric:
You want to choose any fabric that is 100% woven cotton, light to medium weight. You’re going to be lounging and/or sleeping in this pair of pajama pants and while you could make them out of a cotton polyester blend – I can’t recommend it. That stuff is not healthy. Especially if you have the horrid misfortune to get caught in a fire while wearing it. Also avoid using fabrics that have been treated with a flame retardant. It may retard flames but it may also retard other things like biological functioning as it is toxic crap.
Quilting cottons will work great. Lighter weight novelty cottons will also work great. You can find the content of any bolt of fabric at the very top of the cardboard bolt. You can also find out the fabric width there. Most 100% cotton quilting and novelty fabrics are 45″ wide and this is perfect.
The amount of yardage you need will depend on what size you’re sewing and what width of fabric you’re using. This information is always listed on the back of the pattern envelope.
Choosing elastic and twill tape:
Everyone knows what elastic is unless they’ve been living in an elastic-free monastery. It doesn’t generally come in very many color choices in the fabric store so it’s usually going to be either black, white, or natural. Choose the black for any medium to dark colored prints or solid fabrics. Choose white for any light colored solids or printed fabrics. You can use the natural for any of the light colored solids or printed fabrics too – except for solid white. A natural unbleached elastic may show through a light weight or medium weight solid white fabric and for the most professional results you don’t want a darker elastic showing through your casing.
Not as many people know what twill tape is so here’s what you’re looking for:
 Like elastic – it doesn’t generally come in many color options so use the same rules for twill that you do for elastic. If you have a darker print or solid fabric and can’t find a matching or even dark twill tape – then go for the natural.
I always choose natural unbleached things when I can for two reasons – the less bleach in my life or on the planet being used – the better for all. But more selfishly than that – I hate white. I ruin white things. White depresses me in wall paints, carpets, and furnishings and I can’t tell if it’s because it’s so stark and blinding or because I know if it was in my possession I would destroy it in a matter of hours. While white clothing can sometimes be fetching – I am especially skilled at spilling things or sitting on gross staining things when wearing white. So I don’t ever wear it.
But you may like white. Maybe white cheers you up or makes you feel bright and sunshiny. That’s cool. Go with what works for you as long as you first pay attention to the details above.
Choosing thread:
I know I said polyester is the antichrist but when it comes to thread I always choose either a cotton/poly blend or 100% polyester thread unless it’s for a quilt. The reason is this – most 100% cotton threads are weaker than a blend or completely synthetic. The downside of polyester thread is that irons like to melt it on hot settings so you need to be careful.
Does brand matter? I only use two brands of sewing thread for my regular sewing machine (I am less particular about my serger threads) and I don’t think of one as better than the other (though I’m sure you can find people who passionately prefer one over the other). I either use Coats & Clark Dual Duty or Gutermann. Coats is generally much less expensive than Gutermann. Joanne’s frequently has sales on thread so be sure to check for 40% coupons which you can print from their online site.
A 300 yard spool is fine for this project if you have a serger to over-cast your edges with. If you don’t have access to a serger I’m going to show you how to use your zigzag stitch to keep your edges from fraying – so if this is you – you’ll need a larger spool with between 500 and 600 yards of thread on it.
Matching your thread to your fabric. If you are not good at matching colors – bring a friend with you who is. Having your thread match your fabric is one of the most important ways you can make your garment look professional. If you’re using a printed fabric you want to match the main color in it. If there’s a background color that’s prominent – that’s what you want to match. If there isn’t a distinctly prominent color then look for threads that when you hold it against the fabric seem the least noticeable. You want your thread to look as invisible to the eye as possible. Unless you are purposely using contrasting thread as a design feature. But that’s not what you’re doing with this project.
Do you really need sharp fabric scissors?
Yes. You do. Unless you actually enjoy tearing your hair out in frustration. If you have a pair of super sharp scissors that aren’t specifically meant for fabric – feel free to try them out. If they aren’t meant for fabric – even if they work well at first – they will dull quickly and you will hate them and you will hate sewing and you will probably become a menace to anyone standing nearby.
If this is your first project and you don’t know if you’ll ever do another one – don’t buy them – borrow a pair from a friend. You are almost certain to know someone who has a pair who will lend them to you for this project. They aren’t horribly expensive considering their value to you in this endeavor and you can sometimes get them on heavy discount. I personally think that this is one of those things everyone should have in their homes anyway. You never know when you’re going to need to cut up some sheets into bandages in a post apocalyptic situation and woe is the person who has to do that with paper scissors.
Iron and Ironing board:
Technically speaking, you don’t have to have an ironing board. You can fold a towel across a non-meltable or flammable surface (like wood or metal) and iron on that. I don’t recommend it. But if that’s what you have to do – it will work. You can sometimes find super cheap ironing boards at thrift stores or at yard sales if you’re looking for the cheapest option available. If you get one used – be certain to test it out before buying to make sure that it can be brought to its full height and not collapse when you put pressure on it.
You cannot sew clothes without an iron. I mean, you CAN, but you shouldn’t and I won’t endorse it. One of the most important tools in sewing is your iron. It doesn’t have to be expensive or fancy but it needs to get hot and have a steam button. You probably already have one. If you don’t, you need to buy or borrow one.
If you have any questions about things I didn’t cover or that are still unclear – please leave your question in the comments and I will answer them.
Okay – go get those supplies and we’ll get this project going!
Pajama Pant Sew-Along: First Steps
Pajama Pant Sew-Along: Part 1
Pajama Pant Sew-Along: Part 2
Pajama Pant Sew-Along: Part 3


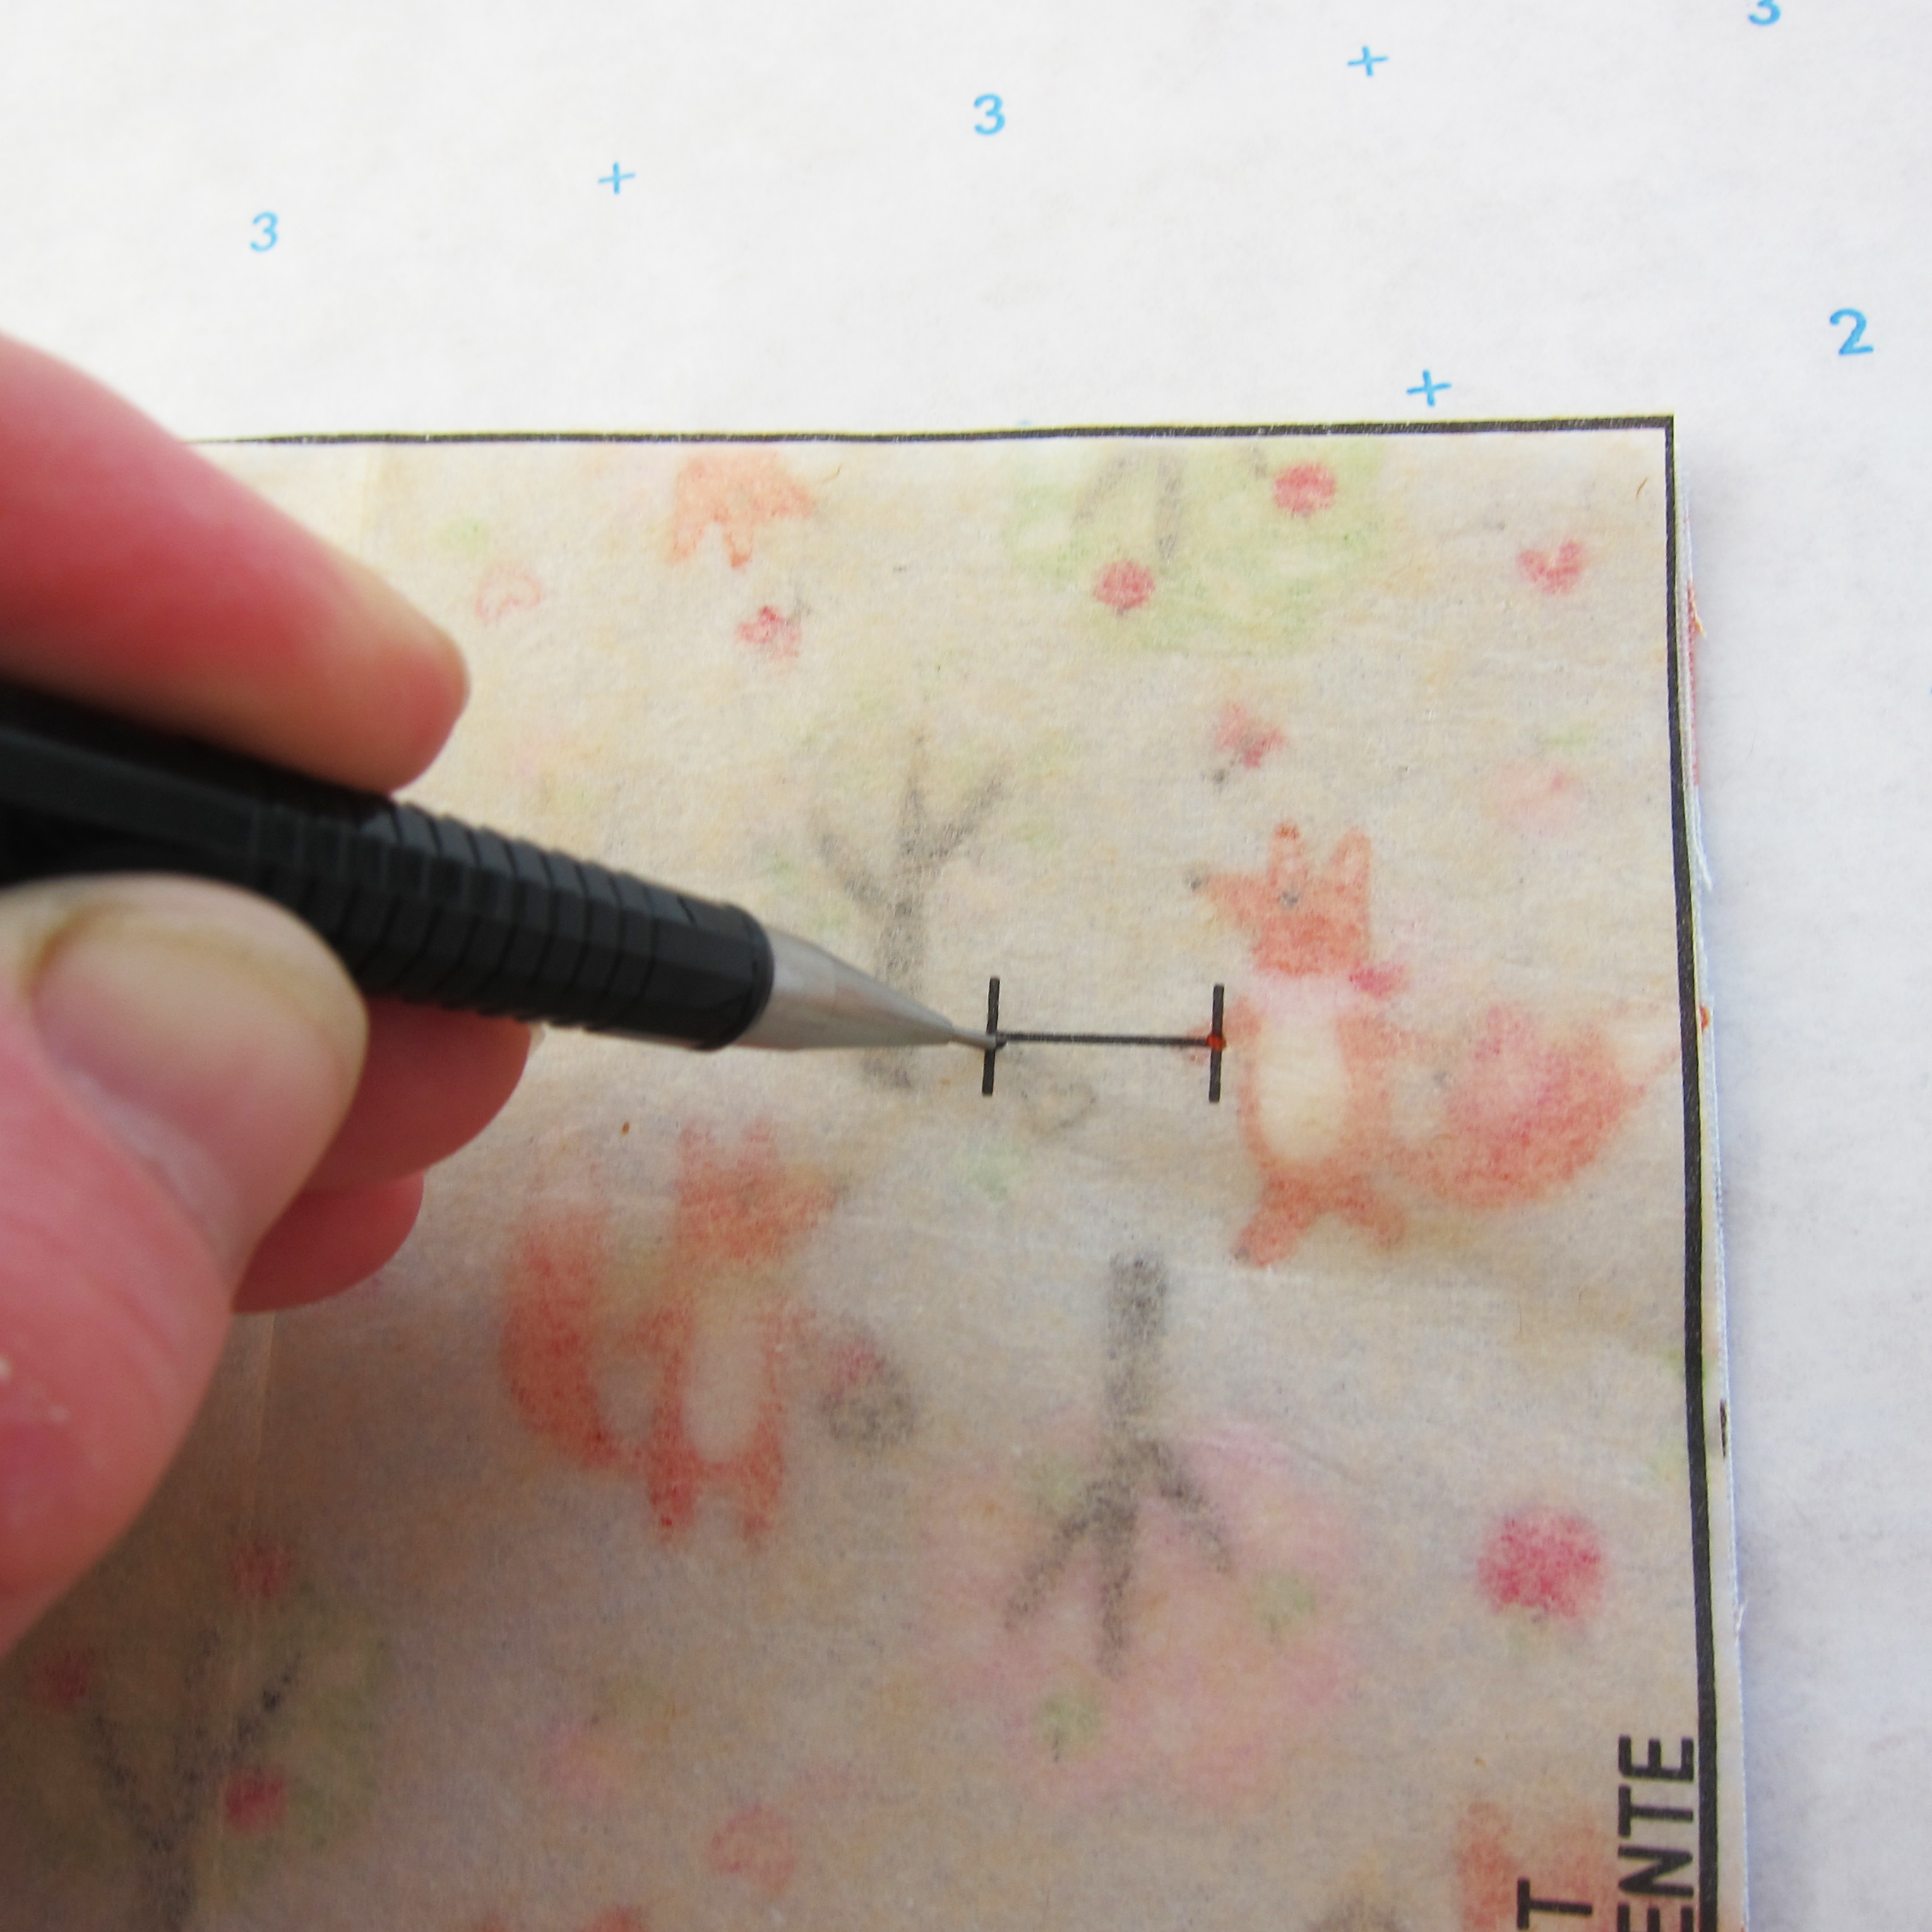 Using a sharp pencil, poke through the pattern piece to mark the beginning and end of the button hole making sure you can see your pencil marks on the fabric. Once you’ve done this to one front leg piece you need to turn the pattern over and do the same to the other front leg piece.
  Use a ruler to make a line connecting your two markings and make it dark enough that you can see the pencil line on the wrong side of the fabric.
 Now make your buttonholes. My Pfaff machine has a really bad attitude about making buttonholes which makes it a frustrating experience. Hopefully your machine likes making them. New sewers – If you haven’t made them using your machine yet you may want to go to a sewing machine shop to get a demo or study your manual and practice a number of times on scrap fabric. I can’t actually tell you how to do them because all machines do buttonholes differently.
 I share with you the best (crappy) buttonhole of the two I made. Honestly, sometimes my machine makes them beautifully and other times not a prayer in heaven will help my machine cooperate.
 They do not instruct you to press your seams open. Which is stupid. Please press your seams open.
 My way: you want to turn one pant leg right side out and then slide it into the other pant leg matching up the crotch seam at the notches and the inner leg seam.
 Stitch your crotch seam. Then pull the inner pant leg out.
 There you are!
 Later, when the pants are completely finished you’ll press any creases out that your iron created while pressing this seam.


