Author Archives: angelina

How to Make Great Vegetarian Chili Without a Recipe

There are as many opinions about what authentic chili has in it as there are people making it.  Some purists think “real” chili should never have beans in it but other sources suggest that beef, being expensive, was not always the main ingredient and that beans were probably traditionally used by many poor people either with or without meat.  The main thing about chili is that if it doesn’t have chili peppers in it in some form – it isn’t chili.

As a life-long vegetarian I have never associated chili with meat.  For vegetarians it’s nearly always a bean and chili pepper based stew that may have a bunch of other vegetables in it – or not.  I’ve been making chili for as long as I’ve been cooking and I have never once used a recipe.  I made the best batch of chili I’ve ever made just the other night (according to Philip) and so I planned to make it a couple more times paying close attention to measurements so I can write out the recipe to share.  Maybe I’ll still do that, but today I am going to share my guidelines for making great vegetarian chili without using precise measurements or ingredients.  What will make it great is that you’ll make it to your tastes, not mine.  If you already make chili all the time yourself then you don’t need this set of guidelines.  This will be similar to my post Soup Philosophy which is a guideline for making soup without recipes for people who aren’t confident or experienced enough yet to trust themselves to wing it.  Being able to cook great food from scratch without recipes is a cook’s greatest tool in the kitchen.
I need to mention that I always cook my beans in a crock pot now so I can put them in and then not worry about them until I need them.  This works really well for me.  If you don’t have a crock pot then you’ll either used canned beans or you’ll have to cook them on the stove top: soak the beans over night, then cook them for a couple of hours before preparing the rest of your ingredients.

Chili essentials:

The foundation ingredients for vegetarian chili:

  • beans, chili powder, diced tomatoes, onion, and salt.  Everything else is just building on those ingredients.  So when you’re making chili from scratch without a recipe, consider that your foundation.

The rest of the ingredients:

  • I am giving you a list of ingredients to work with.  Consider it a list of possibilities – things that go well with the foundation ingredients.  I have made great batches of chili using every possible variation of the ingredients I’ve listed.  It’s YOUR chili so you get to leave out anything you don’t like and add everything that sounds good to you.

Why you don’t need precise measurements:

  • As long as all the ingredients you’re working with are complimentary to each other – you can’t ruin a dish by playing around with them.  If you’re tasting your work as you add things to it you have control over the flavor.  You don’t need exact amounts of beans.  If you add two cans of beans to the pot and it doesn’t seem like enough, you can add another one.  How will you know if it’s the “right” amount?
  • There is NO such thing as “right” or “wrong” amounts.  There’s only a question of what you like.
  • If you follow my general guidelines you’ll have an idea of the general proportions of ingredients that I like to use.  But that’s highly personal to ME.  If I’m using rice I like to use a ratio of beans to rice that’s close to 4 to 1.  But that’s just how I like it myself.  My ratio of beans to veg is much closer.  In the summer when there is fresh corn and summer squash my bean to veg ratio is around equal parts.  In the winter when I don’t have so much fresh veg available the ratio is more like 3 to 1.

Adjusting the water or stock:

  • A lot of the flexibility of soups and stews of all kinds is that you can adjust the consistency very easily with the addition of water or stock.  You don’t measure how much of everything you added to the pot so how do you know how much water you need?  You don’t.  You start with what I list in the guidelines I give.
  • You will absolutely, no matter what, need at least a quart of water.
  • If you aren’t using diced tomatoes you will need to use at least two.  This you can count on.  If you decide you want to make a much smaller batch than I always do – then start with a little less.  If you’re making a much bigger batch than I list here (like making two pots at one time, for example) you will use more.
  • You can tell when you need more water because your chili will be getting too thick before it’s done cooking.  You add more.  The more dried rice you use the more water you’ll need to add too.
  • If you add too much water, you simply cook it down.  It takes a little longer but if you’re checking on it periodically and stirring it, it’s no big deal.

Batch size:

  • If you were to make a batch of chili using all my suggested ingredients in one batch at the largest amounts suggested you would probably be able to feed about 10-12  people with generous portions.
  • If you use the lower amounts of every ingredient listed you would probably be able to feed 6-8 people with generous portions.
  • If you use only half the suggested vegetables and omit the rice you will probably still be able to feed about 6 people.
  • If you omit all but the very basic veg (onion and tomatoes) and omit the rice to make a very basic chili, you will probably have enough to feed 4 people.
  • My point is this: the amount you end up with really depends on how many ingredients you use.  Every ingredient that isn’t a spice adds volume.  If you like your chili ingredients proportioned like I have them but you only want enough to feed 2-4 people (I have never done this in my life, by the way.  Even when living alone I always made enough for at least 6 servings and would freeze some and eat leftovers several times too) then you only use half an onion, 1/2 to 1 stalk celery, use 1/2 to 1 carrot, etc.  Just go down the line of ingredients and halve the smallest portion I suggest.

Experimentation and repetition make perfect:

  • “Perfect” in this case meaning a chili that you love and want to make again and again.  The more you make chili without a recipe the more you’ll end up having a basic “recipe” of your own based on tried and true preferences.  But it won’t really be a recipe because you won’t ever have to measure anything.  You’ll just KNOW.  You’ll develop a feel for making it just how you like it.  If you make a batch that is crazy good – like everyone who tries it is asking for more – and you want to remember how to make it like that again?  Make it again within a day and write down what you used and approximate measurements.

What can go wrong with a batch of chili?

  • Burning it.  You forget it’s on the stove and it sticks and burns.  OR you had the heat on too high and it cooks down faster than you can keep track of and the liquid all cooks down and it burns.  Burnt chili is not nice.  Although I once burnt a batch and my mom and Philip said it was really good and had a “smoky” flavor.  Huh.  I think maybe they were just so hungry that day that they were light-headed and easily pleased.
  • Too much of a particular spice.  This is why you add spices in increments and taste as you go.  That prevents major problems like half a jar of cumin resulting in chili that smells like a gym.
  • Undercooked beans.  Now that I cook my beans in the crock pot I haven’t had this issue.  Cooking them on the stove top – I get impatient.  Once or twice over the years I’ve considered the chili done only to find that the beans weren’t quite done.  Total fail.  Not good for the digestive system either.  You avoid undercooked beans by taking a few out and trying them.  You’ll know.  They’re tender when done.  Not crunchy or chewy or chalky.

That’s it.  So if you aren’t already skilled at making chili from scratch I hope these guidelines will give you the confidence to start making it without a recipe.  Let me know if you have any questions not answered in this tutorial.

How to Make Great Vegetarian Chili Without a Recipe

How to Make Great Vegetarian Chili Without a Recipe

Ingredients

    Ingredients:
  • 3 Tbsp oil
  • I usually use olive oil but you can use vegetable oil instead if you like. If you're only going to sautee onions and celery from this list of ingredients - reduce the oil amount to 1 Tbsp. If you're using tons of the vegetable options listed - use 3 Tbsp cause that means you're making a fat pot of chili and you need more oil to get a good browning on the vegetables.
  • Vegetables you can include in your chili:
  • 1 onion, diced
  • If you're making a huge batch of chili you may want to use 2 onions.
  • 1 - 2 stalks celery chopped
  • I frequently leave out the celery but it really adds a nice base flavor along with the onion. If you like it use it. For smaller batches or lighter celery flavor, use 1 stalk.
  • 1 - 2 carrots, chopped
  • I personally love carrots in my chili. I love having lots of vegetables in it but carrots only make it into my chili about 50% of the time.
  • 2 - 4 summer squash of any kind, chopped chunky
  • Use what you have on hand or leave it out entirely. I love summer squash in my chili and my favorite to use is zucchini or Mexican summer squashes but you can use patty pan or crookneck too. You chop them chunky so they don't completely disintegrate into the stew as they cook.
  • 2- 4 ears of corn, kernels sliced off the cob
  • I doubt corn has ever been considered a traditional ingredient in chili by anyone - I'm not a purist and when there is fresh corn available this is an amazing ingredient to include.
  • 1 quart of diced tomatoes with all the liquid OR 6 - 10 tomatoes (depending on size) diced
  • My chili is always tomato based. Always. But you don't have to use them if you don't like them or don't have them. If you don't use tomatoes then you may want to increase the amount of chili powder you use to add richness and color. Another option is to use 1 quart of diced tomatoes in their juice and an additional quart of tomato sauce . This will result in a much more tomato-y and rich chili but tomato sauce is thicker than water and so if you do this you are almost certainly going to have to add a little bit of water too - even for smaller batches. I've done this from time to time depending on what tomatoes I have left in my pantry. Most commonly I just use the quart. Home canned quart = 28 oz commercially canned. They're equivalent enough for our purposes here.
  • 3 - 6 small fresh chilis of any kind, minced OR 3 - 6 pickled jalapenos, minced
  • I make my own pickled jalapenos and I started using these in my winter chilis because I don't buy fresh peppers out of season. It turns out that I prefer using the pickled to fresh now because it adds a slight tang with the heat. You don't have to use any fresh or pickled chili peppers at all if you don't tend to like them. I usually use a mild chili powder so I like to add heat with small fresh ones. It's up to you. Experiment.
  • 1-3 cloves garlic, minced
  • Sometimes I use garlic, sometimes I don't. Think of garlic not as a main flavoring agent but as a subtle one here. You want your chili flavor to shine.
  • Beans:
  • 2- 3 cups dried beans OR 4 - 6 cups cooked beans
  • Pinto, black, kidney, or any heirloom dried bean that is similar in character to these are great choices. (I DON'T recommend using navy beans, chickpeas, cannellini beans, lentils, mung, or black eyed peas). How much beans to use? If you're making a med sized batch (to serve around 6) I would use 2 cups dried or 4 cups cooked but for a larger batch use more. If you're only wanting to serve around 4 people, use even less.
  • Rice:
  • 1/2 to 1 cup dried OR 1 - 2 cups cooked
  • Rice is not a traditional ingredient in chili, however, rice with beans makes a complete protein so for vegetarians this is a good addition nutritionally. Use a little or a lot. I don't want my chili with tons of rice so I add a modest amount of 1/2 cup dried rice per pot of chili. The more rice you add the more water or stock you'll need to add too. Just bear that in mind.
  • Seasonings/spices:
  • 1 - 40 Tbsp chili powder
  • The all important chili powder! As I mentioned - I go light on the chili powder but this is where you must taste as you go to find out how much you like. There are a million different chili powder blends out there - I have yet to find a favorite - that's a different quest. I use mild but many people like their chili to be HOT. What do you like? Try different blends to find what works for you. I tend to use between 1 and 2 Tbsp of chili powder per batch - very little. I think this is a good place to start but the average person is probably going to want to use a lot more. Start with 1 Tbsp and taste, add another, taste. Let it cook for a few minutes and then add more. And so on. Keep tasting. That's how you'll get an idea of how much you like in your own chili. It's very personal. Once you've made chili a few times just winging it - you'll have a sense for how much to add and without even measuring you'll end up using approximately the same amount every time.
  • 1 - 2 tsp cumin
  • Cumin smells like armpits. It's true. I like it, but in moderation. I rarely add more than a teaspoon. I like to use it to add depth of flavor. But sometimes I want a cleaner brighter flavor so I'll leave it out. Cumin is earthy and heavy so add in small increments to find out how much you like, if at all. If you already know you hate cumin - just skip it.
  • 1- 2 tsp salt
  • I don't like to over-salt my food. For a medium sized batch start with 1 tsp. This is often enough for my tastes. You can always add salt at the table.
  • 1- 2 tsp Mexian oregano or regular oregano
  • This addition will not make or break your chili but it's a pleasant subtle addition that I really like. Try it out.
  • 1 bunch cilantro, minced
  • For the best batch of chili I ever made I didn't use any cilantro. I don't think leaving it out is what made it the best batch, but it just goes to show you that you don't need this. Some people think cilantro tastes like soap. Soap soup is no one's idea of delicious. If you hate cilantro - leave it out because this is definitely not a traditional addition to chili either. I love it though. LOVE IT! I use an entire bunch per batch. Especially in the winter when I want more green and fresh tastes.
  • juice of a lime
  • Secret ingredient. Not traditional but it adds a brightness the same way a little vinegar would, or more salt. I often add the juice of a lime at the end of cooking at the same time I add the cilantro. Give it a try - but know that great chili doesn't require lime juice.

Instructions

    Cook your beans:
  1. Put them in a crock pot several hours before you need them and cook them on the high setting. Or cook them overnight on the low setting. I usually put about 4 cups of dried beans in my crock pot and then fill it almost to the top with water.
  2. If cooking on stove-top you want to soak your beans over night. In the morning you pour off the soaking water and rinse the beans. Put in a big pot and fill the pot with water covering the beans by several inches. Bring water to a boil and then turn it down to medium. Cook them until you forget about them and they stick to the bottom of the - whoops - sorry! Cook them for 2-3 hours until they are tender. Check frequently to stir and add water as needed. (You need to add water if the beans aren't tender yet but you don't see much liquid.)
  3. Your third option is to use canned beans. This is the expensive but convenient and super quick option. There's no shame in using canned beans. To use canned beans - haha - if you don't know how to open a can of beans - email me. We need to chat.
  4. To make the chili:
  5. In a large soup pot heat the oil on high. Add all your vegetables with the exception of the pickled jalapenos (if using them) and the garlic. Sautee your vegetables on high until they start to brown at the edges. Browning them adds depth of flavor. Stir frequently so they don't burn.
  6. Once you've got some good browned edges going on - add your diced tomatoes and a quart of water (or stock) and stir. Bring to a boil and then turn the heat down to medium.
  7. Now add any of the following that you're going to use: garlic, chili powder, salt, cumin, oregano, pickled jalapeno.
  8. If you're using rice, add it now. Cook for about a half an hour and then check to see if you need to add more water (You need to add more water if the chili is already thick without the beans in it). Depending on how much rice you used you may need to add more water. Chili is meant to be thick but you don't want it to stick. Add water in pint increments. If you add too much water - you can cook it longer to cook it down.
  9. Add the cooked beans, however much you're using. If you cooked your own beans - include the congealed cooking liquid. If you're using canned - rinse them off before adding because that canned liquid is creepy. Turn the heat down to med/low and cook for a half an hour, checking on it periodically to stir. if it gets really thick and starts sticking to the bottom of the pot - add more water.
  10. Turn the heat off and if you're using cilantro and lime - stir it in now.
https://stitchandboots.com/2012/08/24/how-to-make-great-vegetarian-chili-without-a-recipe/

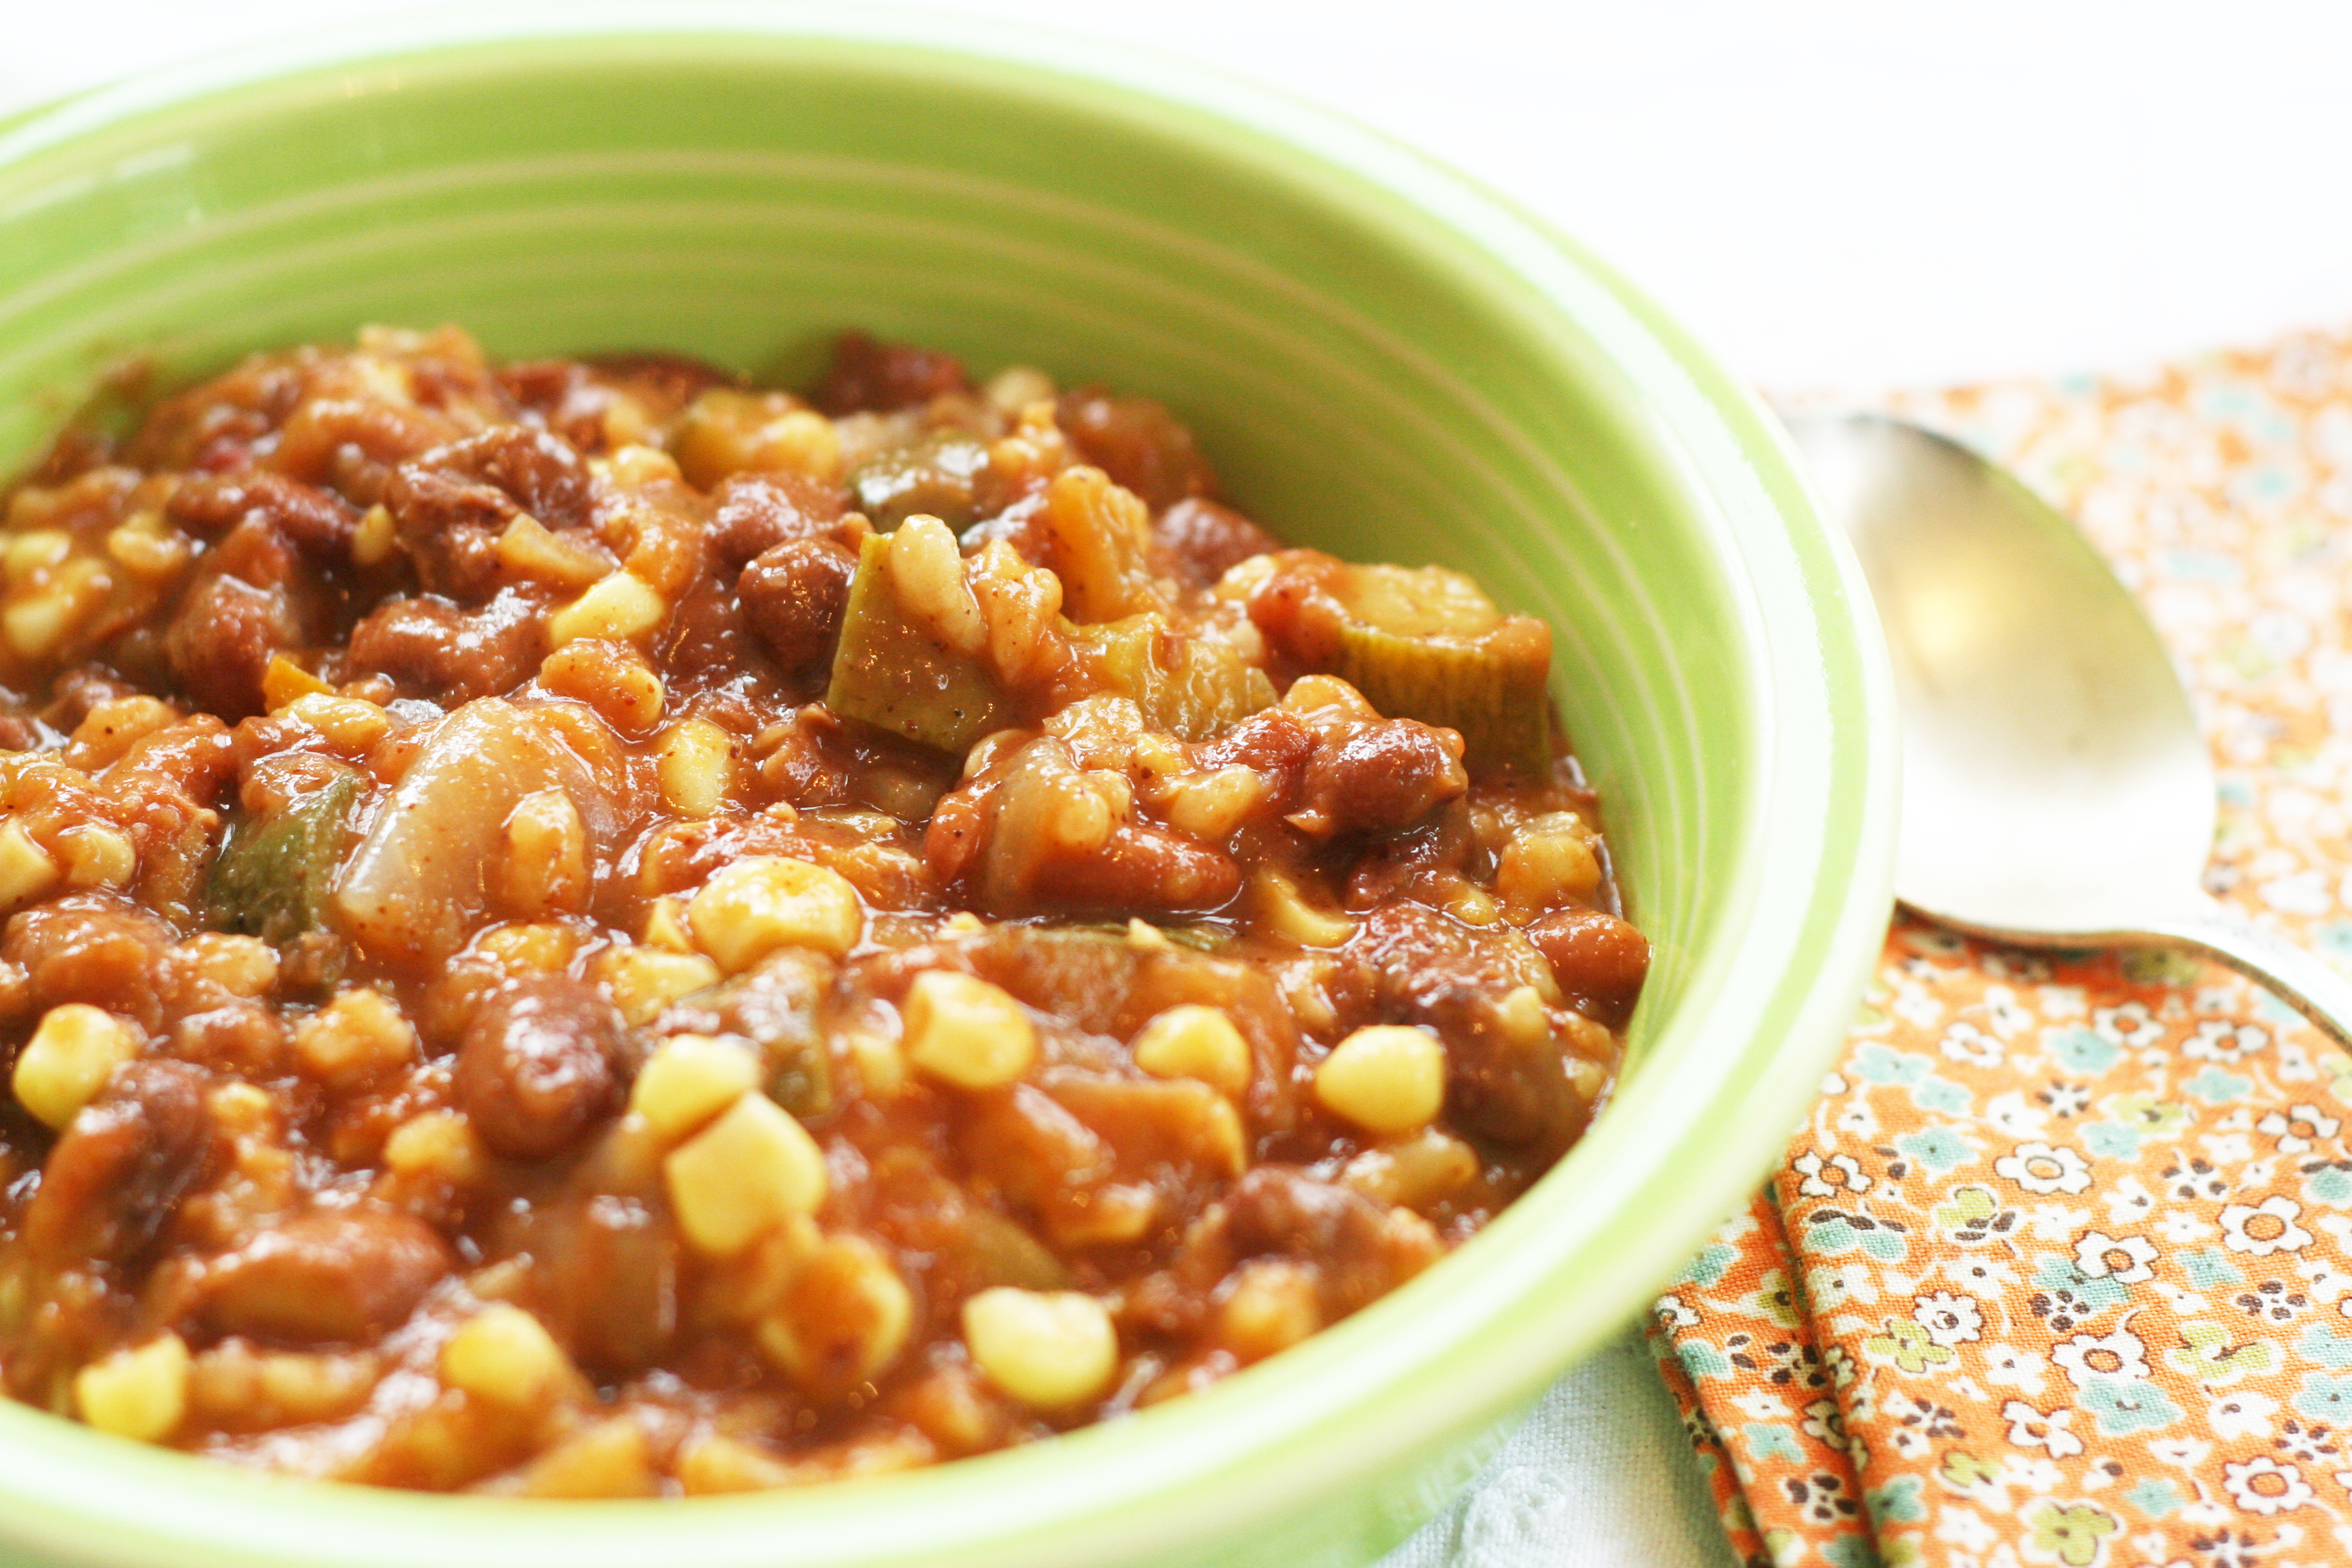
I made a garnish of fresh tomatoes, finely diced red onion, some minced cilantro, and a squeeze of lime.  It was an excellent topping for this batch of chili!

My Unaccountable Happy Place: Asian Markets

My friend Chelsea and I visited an Asian market in Santa Rosa on Friday.

I may as well start off by saying that I don’t have any Asian street cred.  I’m not part Asian.  I haven’t been to any Asian countries.  I haven’t formally studied Asian culture and as a person raised vegetarian there has always been a huge barrier between me and traditional Asian foods (I consume zero seafood or even vegetation derived from the sea).  So when I tell you that my happy place is in Asian markets, know that it isn’t about me trying to be cool or delightfully exotic.

I was born in San Francisco and my first 8 years of life I lived in the Bay Area (San Francisco, larkspur, Berkeley, El Cerito, and Richmond) and at some point China Town had to have made a deep impression on me because there’s never been a time when I didn’t know its streets and wares and smells and associate it with enchantment, amusement, color, and comfort.

When I moved to the city with my friend Carrie I would get away from our cramped studio apartment by hiding in China Town or at the park across the street from Grace Cathedral.  These were (and still are) my two favorite places to go to ground, though I’m not close enough to them any more to get lost in them.  I spent a lot of time in a quiet park between Grant and Kearney where the people who actually live in China Town eat their brown bagged lunches during lunch breaks.  There was a pigeon-shit covered statue there.  I smoked endless cigarettes as I meditatively practiced several different handwriting fonts I made up.  My favorite was a left leaning one that took much practice.

I can’t say why I have found such pleasure and peace in an environment full of Chinese people selling cheap wares and yelling at each other.  I don’t know how a vegetarian finds such comfort and familiarity in a place where windows are hung with headless rabbits and hens with the air full of fish scale.  Does one have to know why?  The shops full of strange herbs and shriveled fungi smelling of dust and mothballs has always felt like a landing place to me.

I can’t eat 85% of what I see in Asian markets because of the ubiquitous shrimp paste and fish sauce.  Asian markets are full of strange and wonderful jars of foods with provoking names like “Sago”.  I hear “sago balls” rolling around in my head and though I fear giant tapioca balls I can’t help but also be charmed by them.

Even for a vegetarian there are treasures here.  I once lived in a sweet little apartment with one of my favorite people in the world who I’ve known since I was fourteen years old.  We lived on fifth and Clement right next to the Happy Super.  Our apartment was owned by a psychotic landlady named Mrs. Lee.  The fish trucks dumped their slurry of fish juice and guts right under my second story window.  The whole butchered pigs would parade out of trucks from the same spot under my fascinated eye.

I loved that apartment.  I loved my room mate who was always fifteen times cooler than I could ever be.  I loved living next to the Happy Super.  I shopped there for cheap vegetables, Thai tea, canned goods, and any other interesting things I could pick up like a happy magpie.  I would troll the isles for interesting packaging, for creepy vacuum packed plastic bags of eyeballs or dessicated shrimp that I would never buy but which filled my eyes and mind with wonder.

I will never be one of those worldly jaded people who has been everywhere and become spiritually international, as cool as the continental drift.  I’m interested in the world I live in and ALL the people in it but  especially Chinese and Russian people.  I will never be able to explain this – I’m not obsessed with Chinese culture or Russian culture but the languages and the people I meet from each and the groceries… it’s really all about the groceries if I’m being honest.

Asian markets are my happy place.  I may not have any Asian street cred but this is where I find simple joy.

I loved seeing the cans of goose-fat and boiled potatoes in the Glasgow markets and certainly Scotland is my favorite place on earth besides where I live now – but nothing will ever compare to the mixed aroma of eastern spices, aged produce, and shipping pallets that assault you in the isles of Asian markets.

Where the hell else can you find Kewpie Mayonnaise?

It makes me so HAPPY.

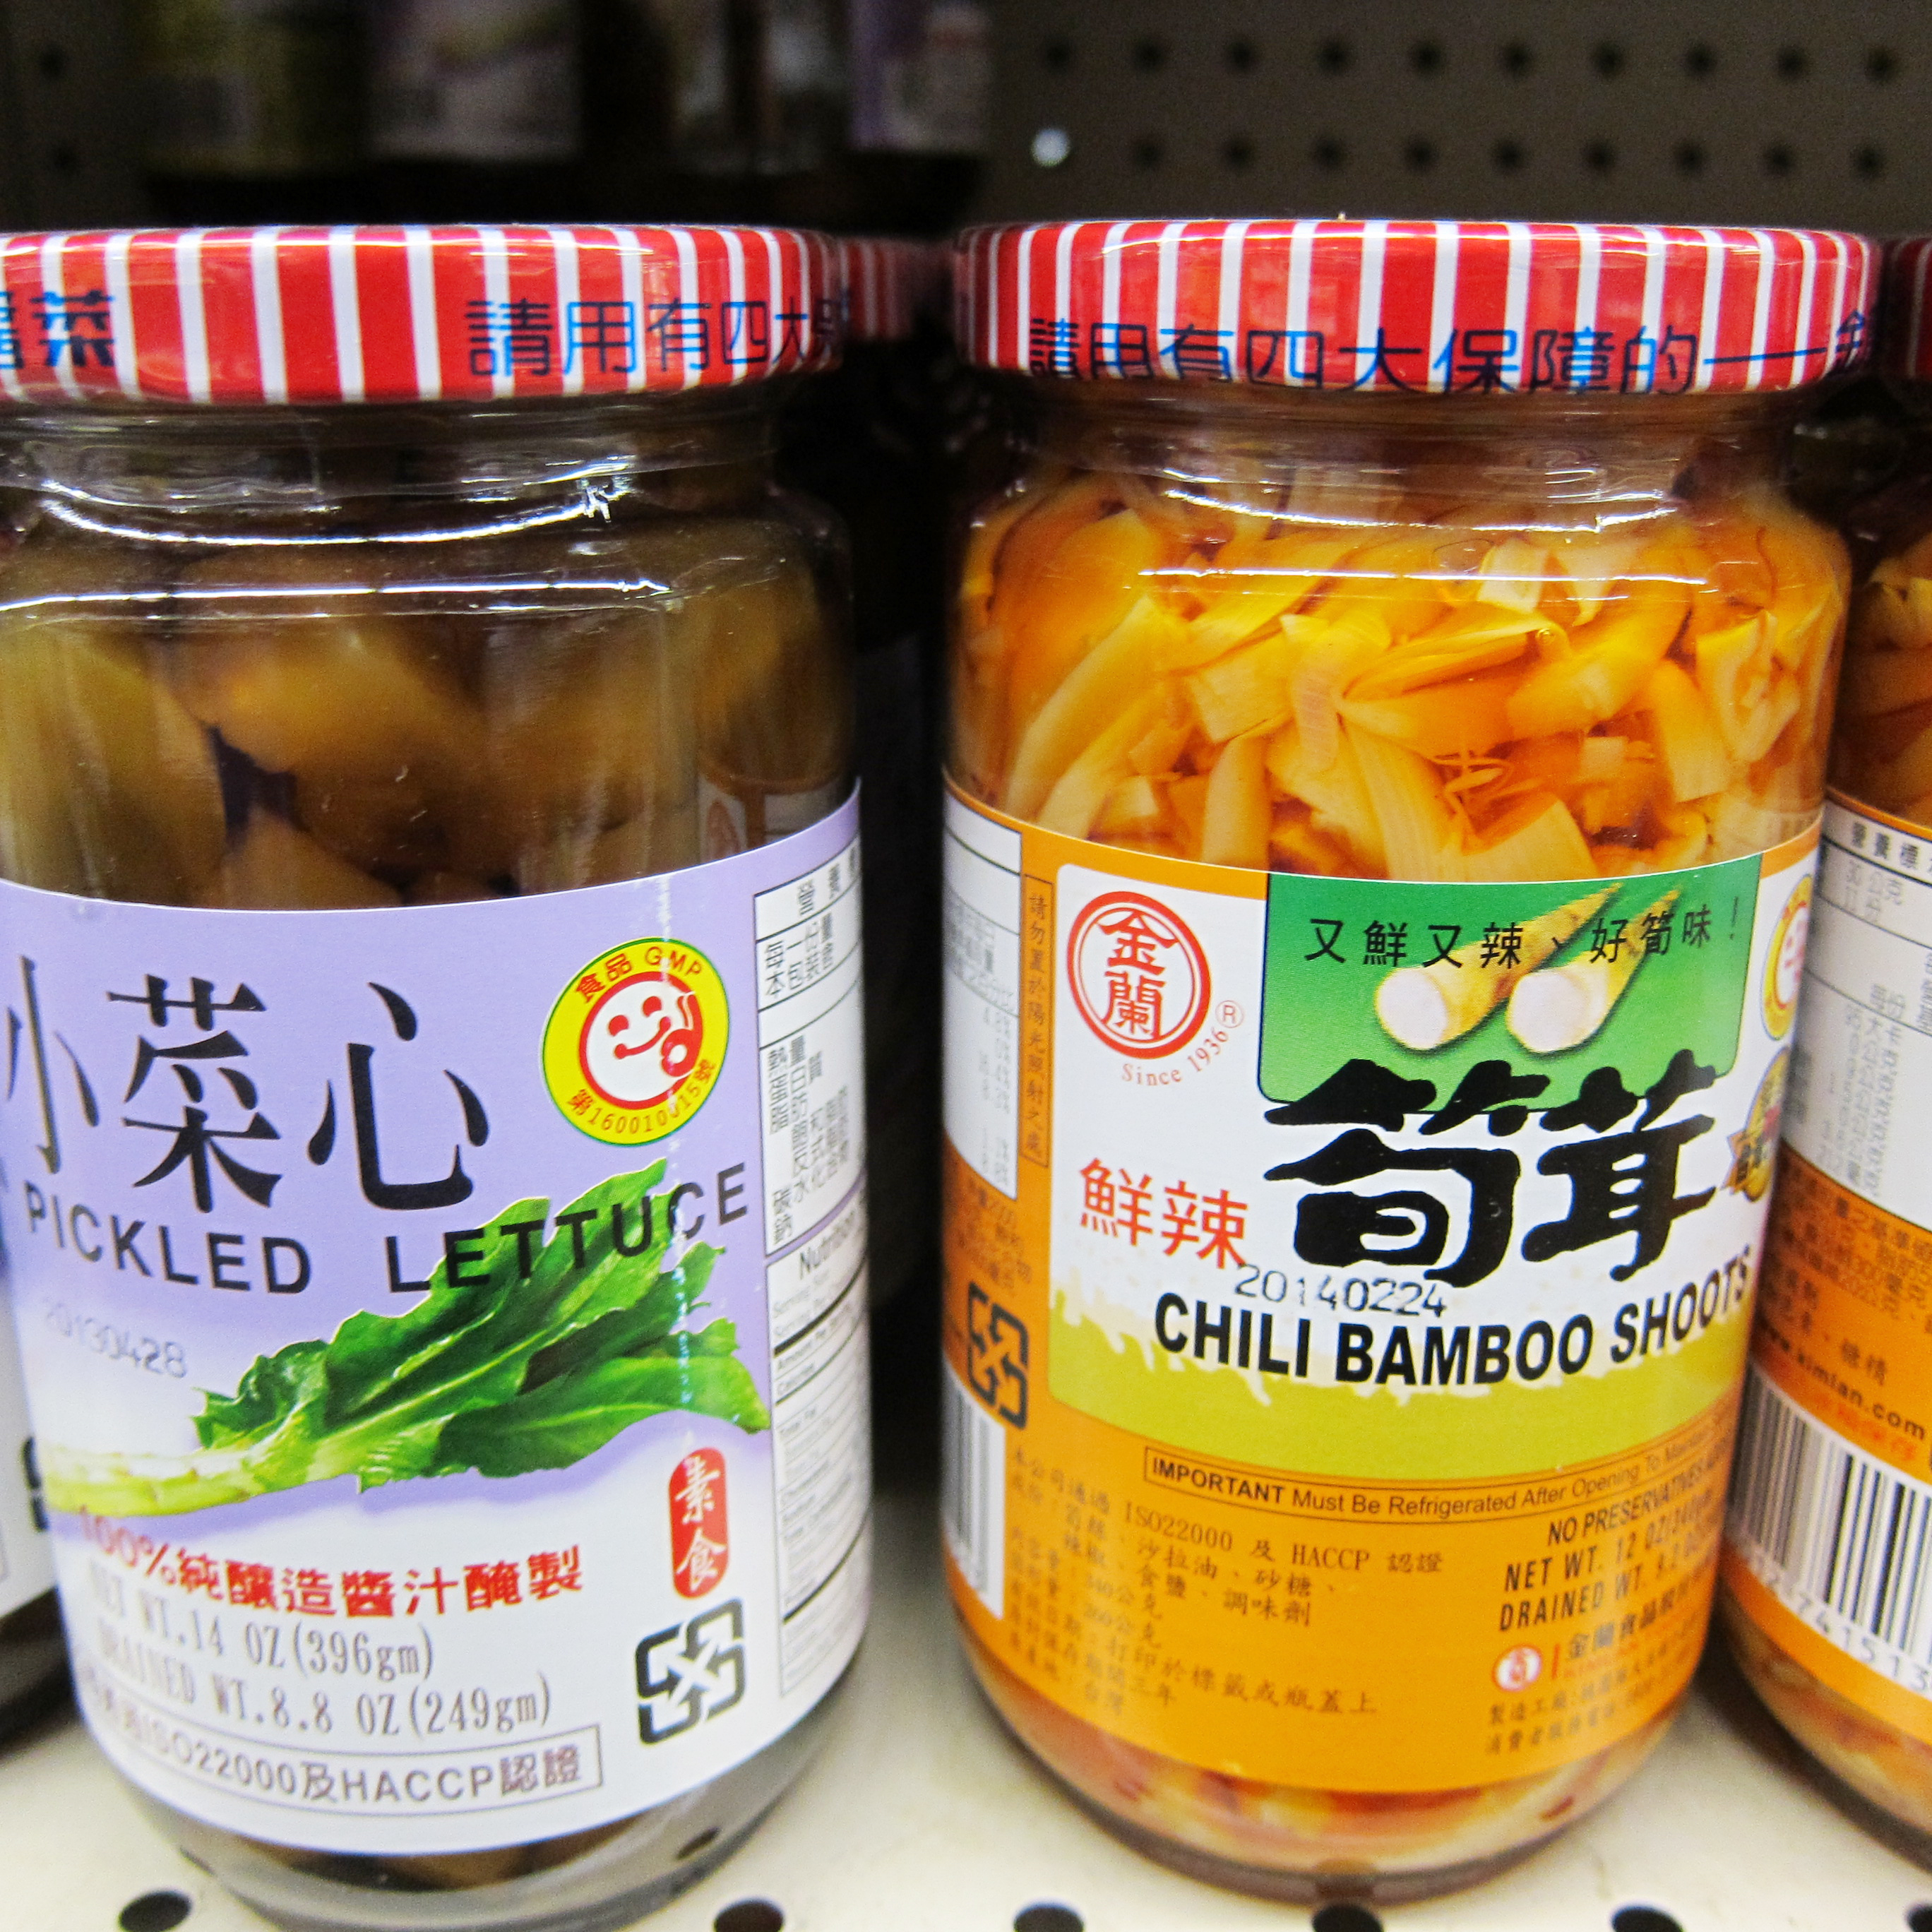
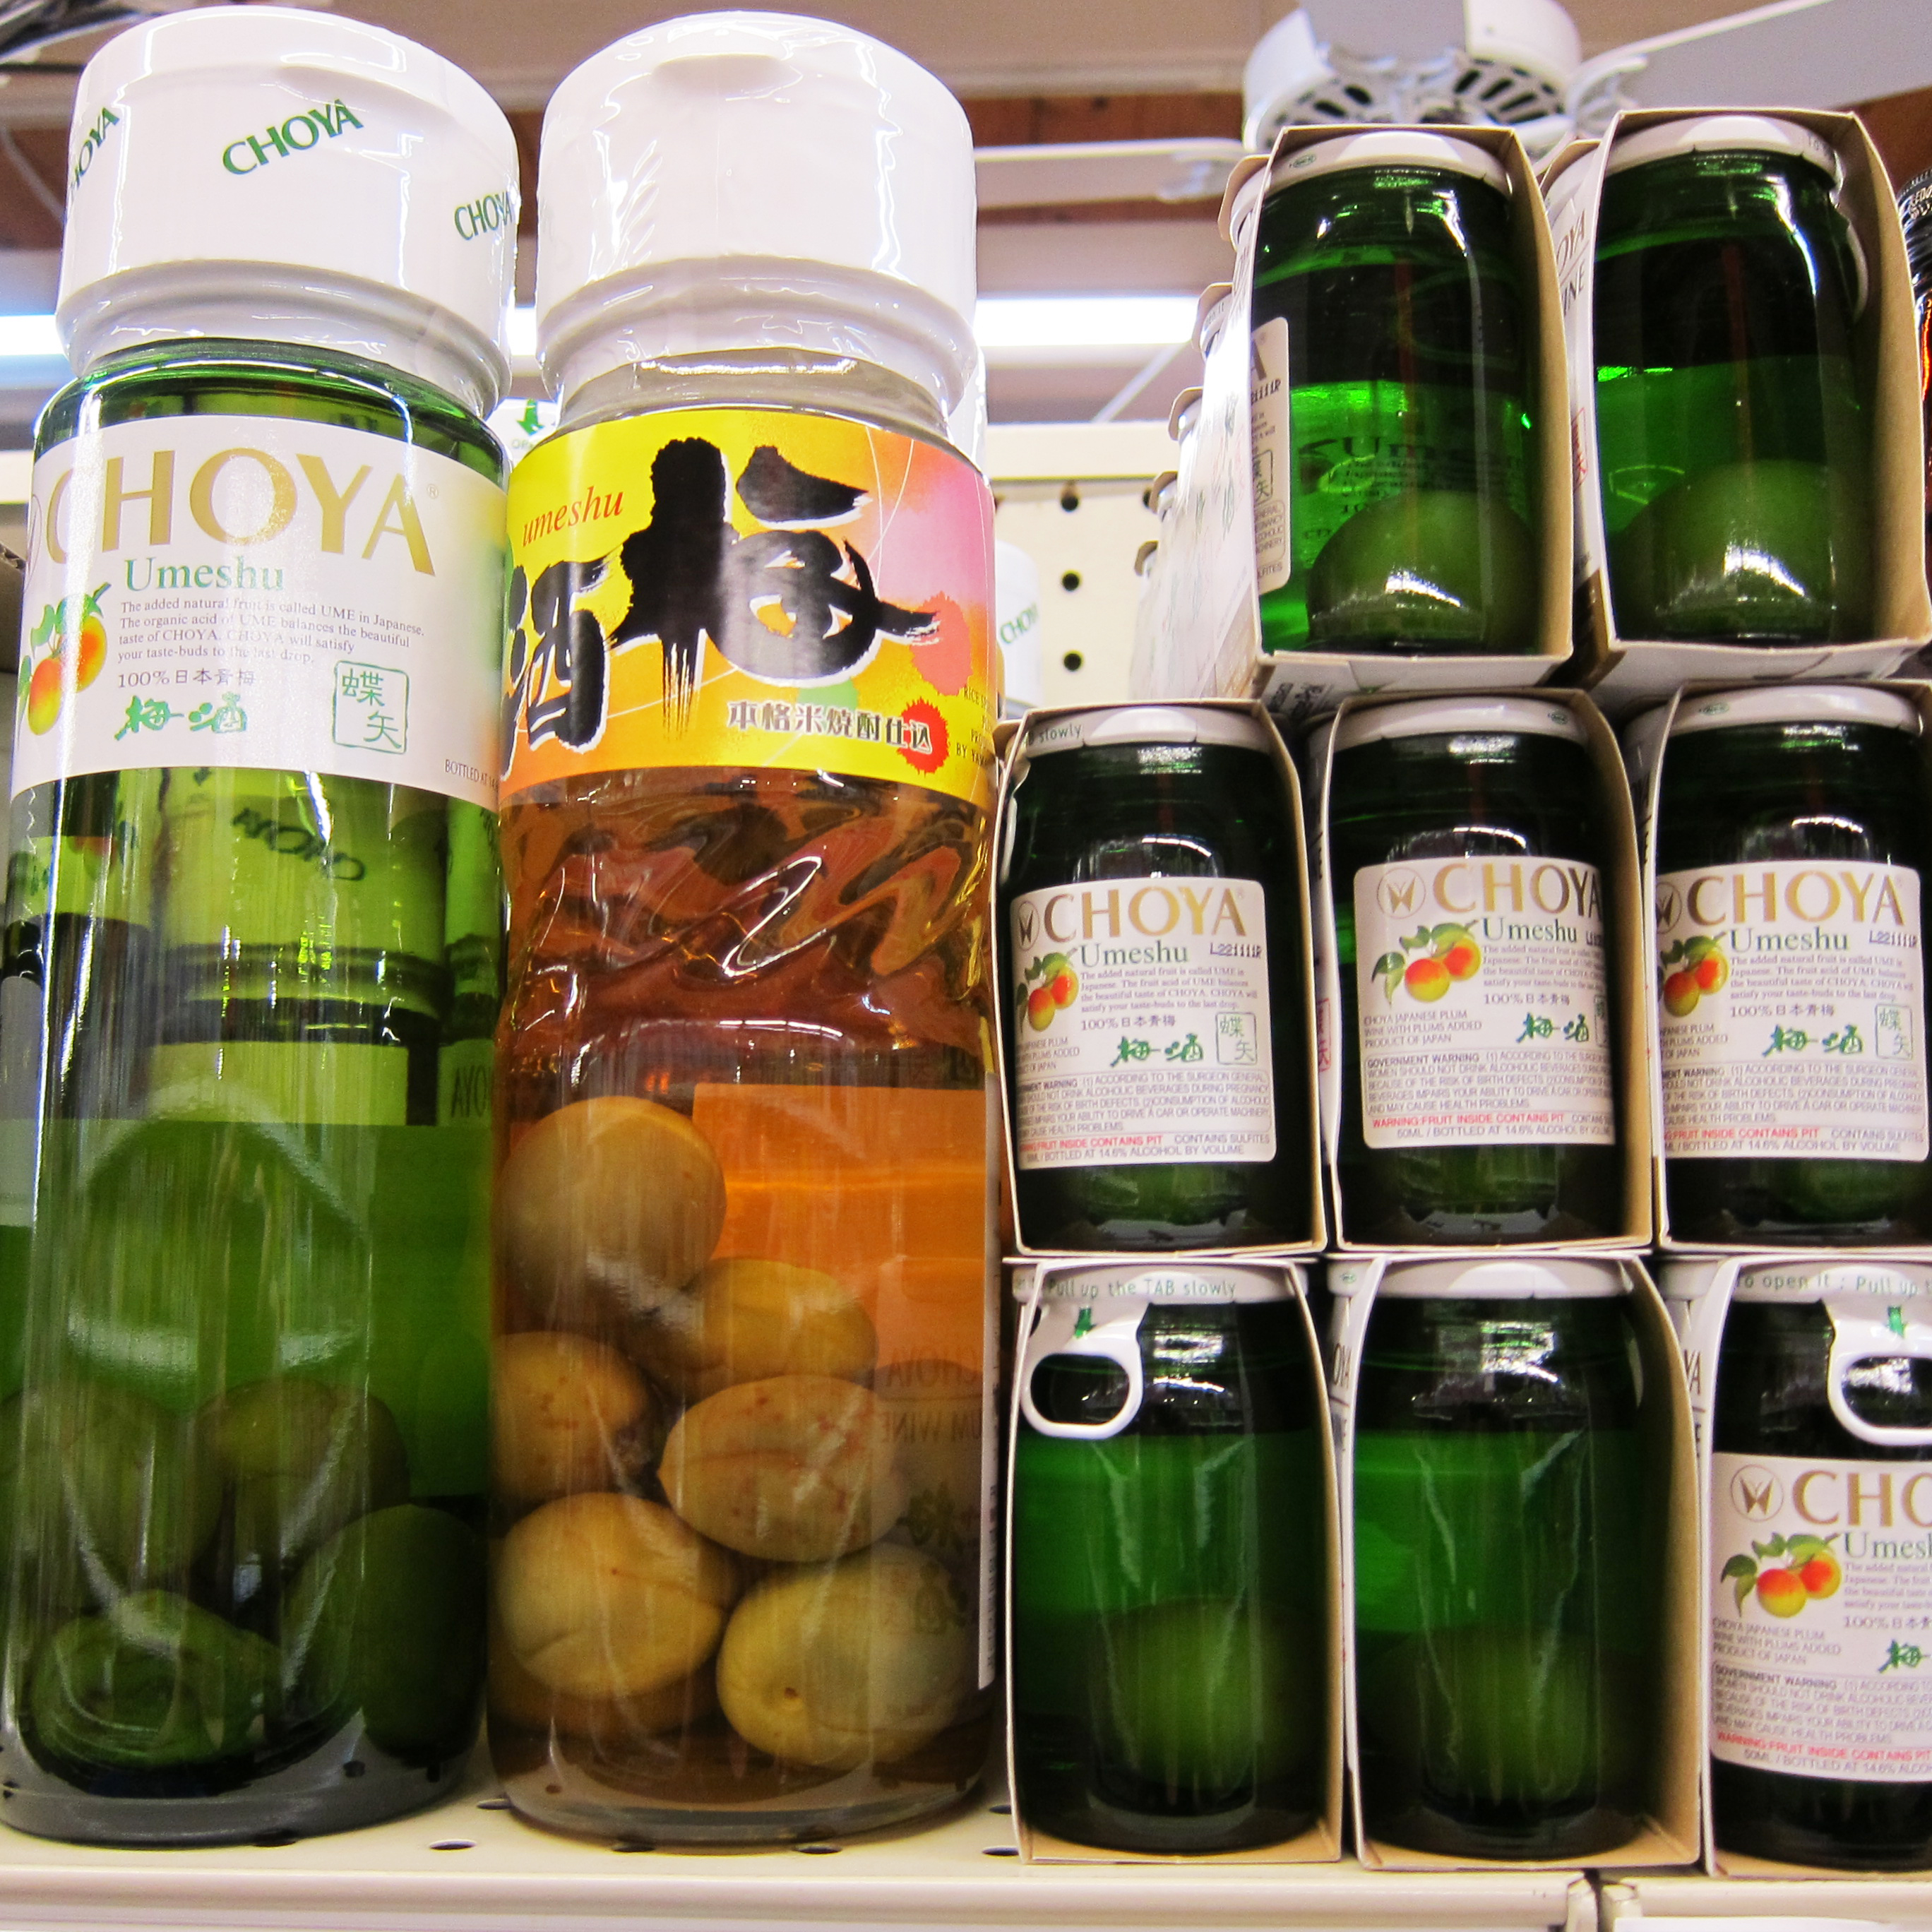
Santa Rosa has two Asian markets that I know of so far and all the pictures in this post were taken at the one at the corner of Fulton and Guerneville Road.  Can you argue with “smiling fish”?  Other things my friend Chelsea and I found were dumpling presses, frozen lime leaves, African flours and spices, jarred bringal pickles, black mustard seeds, guava jam, dried Indian pulses, galangal root (which I bought for Thai red curry), frozen whole fish,  birthday candles, peculiar Chinese biscuits and British teas.

Where’s your happy place?  What colors dominate it, what smells do you associate with it?  Where does your curiosity catch fire and your sense of time disappears?

Dairy Free Dinner Challenge: samosas, dill, and hummus

Not cooking with dairy if you’ve been cooking with lots of dairy your whole life is exactly as challenging as I thought it would be.  I’ve had a couple of meals out again this week that had dairy and there was some grated Parmesan left that I put on some ratatouille because I was so desperately craving cheese.  Since my goal isn’t to be 100% dairy free – this is okay.  The goal I set is one I’ve kept to – I haven’t bought any cheese or yogurt (or milk or butter – though I may still buy some for baking as stated in my challenge) since the end of July.

What to cook without any dairy?  I’m finding you simply have to shift your focus.  I don’t want to cook things that normally would have cheese in them because it makes me miss the cheese.  I don’t want to do mock-cheese dishes.  I don’t want to be cooking dairy free but trying to replicate dairy with soy or coconut.  For the most part I want to learn to cook meals that are simply and normally dairy free.

I love Indian food.  It’s true that my all-time favorite Indian dish is palak paneer.  Paneer, as you know, is CHEESE.  I’m so predictable.  One of the other things I love best is samosas.  These are usually fried and I don’t do much (any) frying in my kitchen so I decided to experiment with doing a baked samosa.  For the filling I used a recipe from a book called “India’s Vegetarian Cooking” by Monisha Bharadwaj.  I didn’t have frozen peas (or fresh) so I used broccoli cut small.  The filling turned out really well.

For the wrapping I used a yeasted dough recipe from Deborah Madison’s cookbook “Vegetarian Cooking For Everyone” (my most used cookbook).   I loved the dough – it held up really well when used like a calzone – it didn’t get soggy.  Admittedly, the filling wasn’t very moist.  The dough has egg in it which helps strengthen it – I’d love a similar dough that doesn’t  have eggs in it but has the same strength.  Anyway – Bharadwaj suggests eating samosas with either chutney or ketchup.  We ran out of our chutney so I ate mine with ketchup and loved them.  To serve with them I made a cucumber salad with dill and vinaigrette.  Just cucumbers.  This was nice and cooling next to the spicy samosas.

Hummus.  I think hummus has become our go-to snack and meal food.  I can’t keep up with the demand for it.  It’s fast, nutritious, and satisfying.  I made pita last week too.  I couldn’t find my baking stone which is how I usually make them but my friend Emma reminded me that I could cook them in a cast iron skillet so I tried that.  I’ve never done them stove top before.  I really loved the results.  Since I never make pita to stuff it – it didn’t matter that they didn’t puff in the middle for me.  I rolled the pita thinner than usual (I was worried about them cooking all the way through) and they were fantastic!
One of my favorite lunches (seen in the pic above) was a pita spread with hummus and then topped with sliced avocado and some sun dried tomatoes in oil.  While I was eating it I didn’t think about cheese for a second.  It was so satisfying and the tomatoes and avocado made it feel indulgent.

Another dish I made that was amazing was a cous cous dish using the leftover steamed potatoes and broccoli from the samosa project and caramelizing some onion and mushrooms to add to it.  Then I made a lemon, olive oil, mustard, and dill sauce to dress it with.  It was amazing!  I will be making it again and posting the recipe for it soon.  I love dill and think it’s underused in American kitchens.

Right now I’m making my own red curry paste and I’ll tell you all about that and the Asian market adventure I went on with my friend Chelsea to find some of the ingredients in the next post.  In the mean-time – tell me what dairy free meals you’ve made recently that you loved?

The Free O’Keefe & Merritt Stove

Here she is, folks!  The FREE vintage O’Keefe & Merritt stove Philip got for me.  It required a visit to a dusty shanty-town near a power plant in which it would not surprise me to find a dead body in an old oil barrel (not that I go looking inside oil barrels, cause, c’mon!  Bodies get hidden in them…) and a whole lot of jostling a local with a truck to help haul it home plus this stove almost crushed Philip to death.

This stove supposedly works but the person who was giving it away (to us!) hadn’t ever actually used it himself so this is not really known.  It’s in remarkably good shape for a stove that has been lying on its side out in the open air.  Very little rust on it – definitely some rust near the pilots (not good) but the enamel is in really good shape and the chrome is also in great shape.  The whole thing is understandably dirty.

Isn’t it pretty?  It comes with cooking guides (such a convenience).  It also has the salt and pepper shakers.

Why get excited about an old stove like this?  Have you ever cooked with one?!  In our old house on Beaver Street we had an O’keefe & Merritt stove very similar to this one (but it only had one oven) and it was the best stove I’ve ever cooked on.  I left it behind because the house we were moving to up in Oregon has no gas to the house.  But boy have I missed that stove.

These stoves cost an arm and a leg when they’re restored.  It’s a lot less expensive when you start by getting it for free.  I’ll need to have it worked on inside by a place that restores vintage stoves (I’ve already found a place) and I don’t know what that will cost.  The more pressing problem is how to fit it in the kitchen.

The current stove we have is only 30″ and this one is 40″ so to make it fit we’ll have to lose some cabinets.  This is not work we know how to do so we’ll need a professional to help us.

It’s in really good shape inside too – it’s pretty clean.  Look – more instructions for my convenience!  I can’t wait to be cooking on this stove.  Philip is hoping we can have it in by Thanksgiving.  I don’t know that that’s realistic.

Two ovens and two broilers!  Think of the possibilities!  I know I am.

Dairy Free Cooking Challenge: the first report

At the Santa Rosa Wednesday Market (which also has some produce stands) it’s all about the BBQ.  People just can’t get enough of meat on a grill.  The whole down town was a haze of meaty smoke.  I suppose this is really primal.  I guess the reason commercial BBQ stands don’t ever grill vegetables is because people don’t understand how to make an amazing grilled vegetable sandwich.  I could teach them a thing or two.

Years ago the Wednesday Market was the farmer’s market with some restaurant and craft stalls.  Then it became equal parts restaurant/craft stalls and produce stalls.  Now it’s almost all restaurant and craft stalls with just a few produce stalls.  This makes me sad.  However – what’s cool is that the farmers that are still showing up at the Wednesday market are the same ones that have been there since the first time I went.  All familiar faces to me and though they didn’t recognize me – it gave me pleasure and a sense of continuity to see them there – to buy from them again.  They are also at the actual farmer’s markets that run all year long – but I have yet to get to those because I am still waking up too late every day to get to them in time.

August is here and with it is the beginning of my challenge to cook without cheese.  I haven’t been 100% cheese free because I am still eating it out but since I can’t afford to go out much I haven’t eaten much cheese in a week.  (The first few days of August I still had cheese left over.)  Wanna know how I feel about it?

Mostly okay.  Definitely not excited about food much.  Thank god for avocados and hummus!  The best thing I’ve eaten since cooking without dairy is the mushroom and polenta dish I posted a couple of days ago.  That was so good I didn’t think about how much better it might be with some cheese.

I’m suddenly craving much saltier food.

I can’t hold my liquor as well.

I feel the need to eat more frequently.  This is not such a bad thing.  Typically I eat two really big meals a day and then a major snack late at night if I stay up.  Now I seem to be hungry all the time.

But really I don’t think I’m actually hungry all the time – I’m just craving cheese.

I do feel cleaner inside and I don’t know how to explain what I mean by that.  Animal products, even ones I love like cheese and eggs, have a sort of icky aspect to them.  They taste fantastic but they don’t always FEEL fantastic in my body.  I really don’t know how to describe it – eating the flesh of or foods made from the body parts of animals makes people smell a little like –

Carrion.

There, I said it.  I’m not trying to be obnoxious or mean or make any judgements about meat or dairy eating (because I LOVE eating cheese and eggs).  I’m simply saying that people do smell like the food they eat.  People who consume large amounts of vitamins (of the naturally made kind) often smell of vitamin.  People who eat a lot of garlic often smell of garlic (not in the classic garlic-breath kind of way – but more subtly – through their pores).

I admit that I’m especially sensitive to smells.

But my point was that I am feeling cleaner inside.  I imagine that if I quit eating eggs this feeling would be heightened.

It totally annoys me when people talk about eating “clean” because it definitely sounds like a judgement but I just can’t find a better word for it and I know what is meant by that word.

Anyway – I’m not really happy to be without cheese.  We went out to a mediocre restaurant (that’s putting it really nicely) this week that Max likes for the waffle fries and I ordered a sandwich called “The Caprese” which was a hamburger bun, fresh mozzarella cheese, onions cooked in balsamic, tomato, and pesto-mayonnaise.

I should not have ordered a cheese item featuring fresh mozzarella because this is one of the few cheeses that I find has zero flavor and whose texture is unpleasing.  I like the less fresh version of mozzarella or this one kind I bought from a farmer’s market that was freshly made mozzarella curds.  SO GOOD.  Anyway – the cheese was flavorless and terrible, the onions didn’t taste at all of balsamic vinegar, the mayonnaise had pesto in it?, and the tomato… also lacking in flavor.  Such a mad disappointment.

The good thing is that it didn’t remind me why I’m so grumpy that I don’t have cheese in my house.  All I could wonder is how any chef could achieve such a singularly flavorless sandwich with so many promising ingredients?  I want to go into the kitchen and teach that chef a few things about making flavorful food.

Over all I think I’m going to be much healthier with so little dairy in my diet but I’m not feeling happy about it yet.  I need to make more food like the mushroom saute – things that are so good without cheese naturally that I start craving those dishes all the time.

Eating a lot of hummus is helping.  Avocados are really wonderful on everything – I’m not sure I could go cheese-less without them.  I have this idea for making a tzatziki sauce without dairy – using a blend of silken tofu and vegan mayo thinned with lemon juice and flavored with garlic and fresh dill.  I think I’ll make that today.  I have another idea for a similar spread using the tofu and mayo but using sun dried tomatoes, garlic, and thyme for flavoring.  I need really amazing spreads and sauces to brighten up my meals.

That’s my cheese report for now.

The Official Virtual House Tour: the downstairs

I present this house tour to all of you, but it is especially for my friend Angela who requested MORE PICTURES and for my aunt Lin who requested MORE PICTURES from my mom.  Since Angela is a close friend who helped us move and my aunt owns the house with my mom and is letting us live here – it is my pleasure to fulfill your requests.

You will notice that the house is in a spectacular state of dishevelment like a mistress of leisure who has just woken up after a bacchanalian night of questionable taste.  Reality, she sets in with the sunrise.  Behold: THE MAD CHAOS.

I was resisting showing any more house pictures because I wanted to wait until I had everything arranged and looking nice.  Since I work 30 hours a week, try to keep food on the stove, and have my kid to take care of, the shopping to do, and all those hideous chores like getting my California license and getting Max registered for school – this is going to take a while.

(I need to mention that this old cabinet, which I love, is disgustingly dirty and peeling and needs to be sanded and repainted but I’m nearly passing out at the thought of all that work.  You can’t see the grime in this picture.  I suppose you should be spared some horrors.)

So here’s what I thought this morning: why not take pictures of the house en déshabillé so that pictures taken later when the house is put together will make for stunning contrast?

This is a wonderful house.  We love it.  Even so, it has many awkward spaces.  So good luck shui-ing its feng.  Let’s just say it’s all going to end up a little quirky, like us.

At some point this space will be filled with quilting projects and copies of all the novels that I’ve published.  Shut up.  I have an invisible friend for an agent so I’m ALL SET FOR SUCCESS.

We don’t actually have a dining room table.  We’re going to have to use our round metal patio table for a while.  My dream is to commission my friend Jim to make us a table and chairs.  Or at least a table.  His work is gorgeous.  That’s my end-game with this room.

We don’t eat meals at the table very often anyway.  We’re unconventional like that.

No more words are necessary here.

If I had money and my mom and aunt’s permission I would redo this kitchen with new cabinets, a much better stove, and new flooring.  But it’s not so bad as it is.  At least I have a gas stove again!  (At least until all the natural gas runs out.)

I got a little sloppy with my captioning.  This bathroom is so much nicer than any bathroom we’ve had for 6 years.

I think a cute shower curtain and maybe a matching cute curtain would be nice.

The colors on the walls and ceiling don’t show up really well in my pics but they’re very soothing and pretty.  The floor is carpeted in a plum-ish color.  Cat vomit shows up spectacularly well on it as do chewed up corn cobs.

Le mess.  Sigh.

If I had been redoing this house I would have chosen reproduction fixtures to go with the vintage of the house but my mom and aunt, in their infinite wisdom, opted for lights with fans in almost every room.  I’ve not been sad about that even once.  I think this is a particularly nice fixture for being modern.

There you have it.  These are all the rooms in the downstairs “unit”.*  Next up I’ll give you an excessively candid tour of the upstairs “unit” and then, if my mom will give me permission, I will give you a tour of the back “unit”.

*The house is divided into three legal rental units but the upstairs and downstairs units are easily convertible by the unlocking of the French doors.  The back unit is a little more separate and that’s the space my mom chose for herself.

Sautéed King Trumpet Mushrooms Over Polenta Recipe

I found these local king trumpet mushrooms at a little market near Sebastopol.  I tried to walk away from them but I kept going back because they were so fresh and pristine and beautiful.  A worthy splurge.  I wanted to prepare them very simply so that the mushrooms could really shine.  I didn’t salt or pepper the sauté and I made the polenta plain.  Because of this I think it’s really important to finish the dish with a drizzle of olive oil – it adds just the right amount of richness without taking anything away from the mushrooms.

Here is a dish that doesn’t want cheese on it.  As I ate it I had no desire to add any Parmesan curls* or feta.  It was perfect as it was.  For my vegan friends – if you don’t already prepare mushrooms this way – please try it!

Sautéed King Trumpet Mushrooms over Polenta Recipe

4 servings

Sautéed King Trumpet Mushrooms over Polenta Recipe

Ingredients

    For the polenta:
  • 1 cup fine polenta
  • 4 cups water
  • 1 tsp salt
  • For the saute:
  • 1 lb King Trumpet mushrooms
  • 2 Tbsp olive oil
  • 2 tsp parsley, minced
  • 1 clove garlic, minced fine or pressed
  • olive oil for finishing

Instructions

    Prepare the Polenta:
  1. Bring the water to a boil in a medium sauce pan and add the salt to the water.
  2. Once boiling turn the heat to low.
  3. Whisk the polenta into the water.
  4. Cover with a lid and cook for 20 minutes.
  5. Prepare the Mushroom Saute:
  6. Clean the mushrooms.
  7. Trim off the ends of the stems and slice mushrooms lengthwise. (Small ones in half and large ones in three slices.)
  8. Heat olive oil in a sauté pan on med/high. When hot toss the mushrooms in the oil and sauté until they are cooked all the way through and are golden at the edges.
  9. Turn the heat down to med/low and add the parsley and garlic and cook for a couple more minutes stirring frequently so the garlic doesn't burn.
  10. To serve:
  11. Ladel the polenta into bowls.
  12. Top each bowl of polenta with the mushrooms.
  13. Drizzle olive oil over each serving.

Notes

If you use a medium or coarse grind of polenta you'll need to give it more time to cook. I prefer the finely ground polenta both for its smoother texture and speed of cooking.

You can substitute the king trumpets with any other mushroom but I hope you can find these because they're really wonderful.

This dish is vegan and gluten free (provided your polenta was not processed in a plant that also processes gluten products).

https://stitchandboots.com/2012/08/09/sauteed-king-trumpet-mushrooms-over-polenta-recipe/

*Like I ever actually make Parmesan curls?  Right.  I’m the girl who dumps piles of grated Parmesan on everything.

10 Reasons You Want to Read Cricket and Grey

I spent all morning writing up the reasons you want to read Cricket and Grey.  Please go read them at Better Than Bullets because I think I just might convince you.  But even if I don’t you’ll probably enjoy the image I put in your head of Nathan Fillion NAKED.

10 Reasons You Want to Read Cricket and Grey

I will return to regular Stitch and Boots programming in a couple of days.  In the meantime – go read chapter one of Cricket and Grey!

Read the First Chapter of Cricket and Grey

After some major indecision about what approach to take with my writing career – do I keep sending queries to agents in hopes of getting my book published in the traditional way or do I publish it myself and take on all the work that that entails?  The bottom line is that I’m ready to release this book and start writing the next one in this series.

So I am going to publish one chapter of Cricket and Grey every Monday afternoon until the whole thing is published on my blog.  While I’m doing this I’m going to format it for e-readers that you can buy as well as formatting it for print on demand copies that you can buy.  The advantage to reading the book on my blog is that if you’ve been following my whole writing process for the past three years – you don’t have to wait to read the book any longer and you can read it for free.  The disadvantage is that reading chapters in blog format is not the most comfortable format to read a book in.  The advantage to buying either an electronic copy or a hard copy is that you can read it anywhere and it’s in a much easier on the eyes.

I’m not 100% sure how I’m going to work this out but I may expire each chapter after it’s been up for a full month.  I’ll keep you posted.

Wanna find out why I had to do so much research on automatic rifles and semi-automatic pistols and the legality and method for burying your own dead?  Wanna find out what Yamhill County might be like when oil becomes so scarce that the government keeps it all for their own uses?  Go read the first chapter of Cricket and Grey on Better Than Bullets:

Cricket and Grey (winter): Chapter One

This is speculative fiction and as such I got to take some liberties with how I imagine the future but I also did a lot of research to keep it real.  I hope that you will find my novel entertaining.

Some things you may wish to know beforehand:

1.  This is fiction NOT a survivalist manual.  I pity the fool who takes it too seriously.

2.  There is swearing, though less than I do in my journal writing.

3.  I wish I was Cricket Winters.

4.  I kind of wish I was Grey Bonneville at the same time, though that would be awkward.

5.  Trying to learn enough Scots to form a super breezy exchange of pleasantries took many hours of study.

6.  I really like my villains.

7.  There are adult themes in this book so don’t read it to your seven year old.

8.  No hot sex.  I’m sorry.  But you would be a lot more sorry than me if I tried writing a torrid sex scene and then subjected you to it.

9.  My favorite character aside from the two main ones is Shockey.  I love him.  He needs a bigger part in book two.

10.  This is meant to be a four book series (winter, spring, summer, and fall).

Where Wild Food Grows

This is a fine old Gravenstein apple tree on my father-in-law’s property which includes a falling down old apple orchard.  One year we pressed the Gravensteins and made fresh apple cider which I then canned (there was a lot!) and I entered our apple juice in the Harvest Fair of Sonoma County and it won first place.  I still have my ribbon because I haven’t often won first place in any kind of contest.  The juice was fantastic and I wouldn’t mind having a glass of it right now.

This old apple orchard is a place where nature show-cases the beautiful side of decay.  It’s quiet and peaceful with haunted whispering leaves.

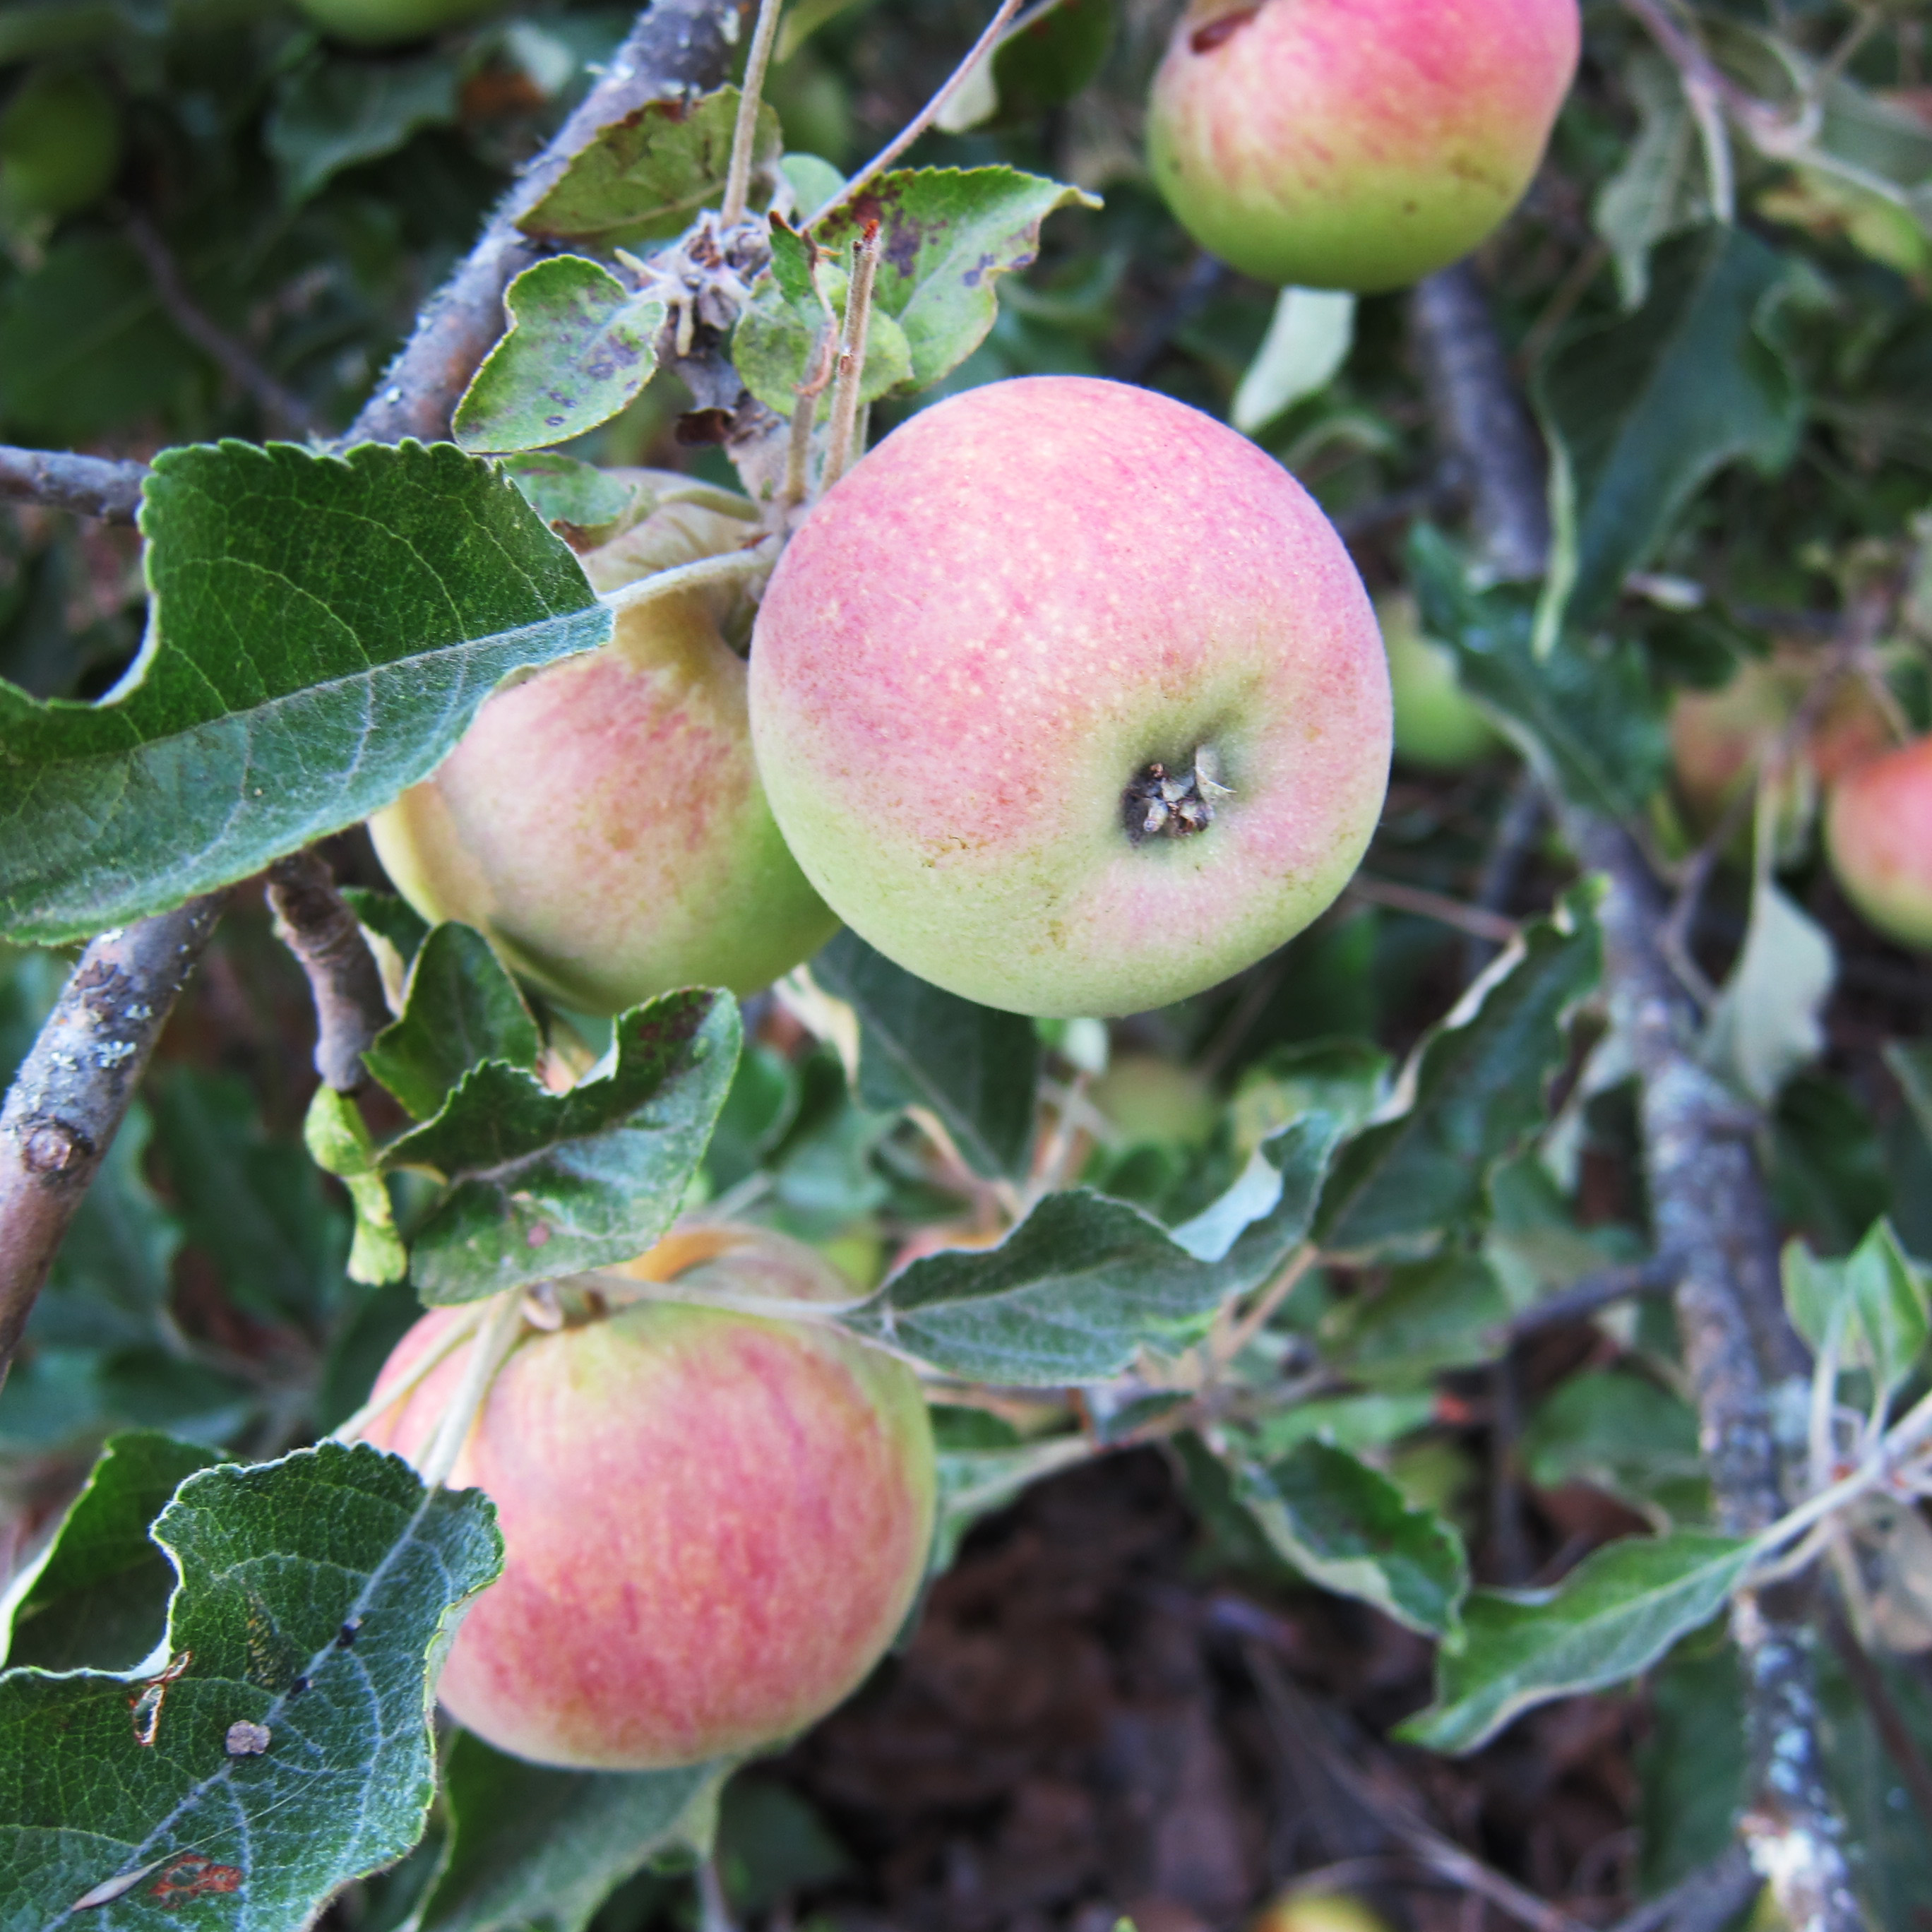
There is nothing in this world like a broken old apple tree that is still blossoming in the spring and producing fruit in the fall.  How its branches must ache under the weight!  This particular tree here (which you can’t see in full) was grafted with more than one variety of apple and is nearly prostrate – to the point where I’m not sure there would even be a way for it to be reclaimed and healed – yet a few years ago it made one of the best fresh eating apples I’ve ever tasted.  I am sure it was a Golden Delicious – the way they’re SUPPOSED to be: crisp with a fine textured flesh and sweet without being insipid, full of the most wonderful classic apple taste.  I’m not sure what variety this is in the picture – it’s growing on half the tree.

An old trellis which used to have grapes growing over it.  I couldn’t find many of the grapes left but we’ve tasted them and they are wonderful – like tiny Red Flame grapes (which is what I suspect they are).  Now there’s some poison oak around it and blackberries too.  I don’t understand what those pipes attached to the structure are.  Maybe my father-in-law knows.  I’ll ask him.

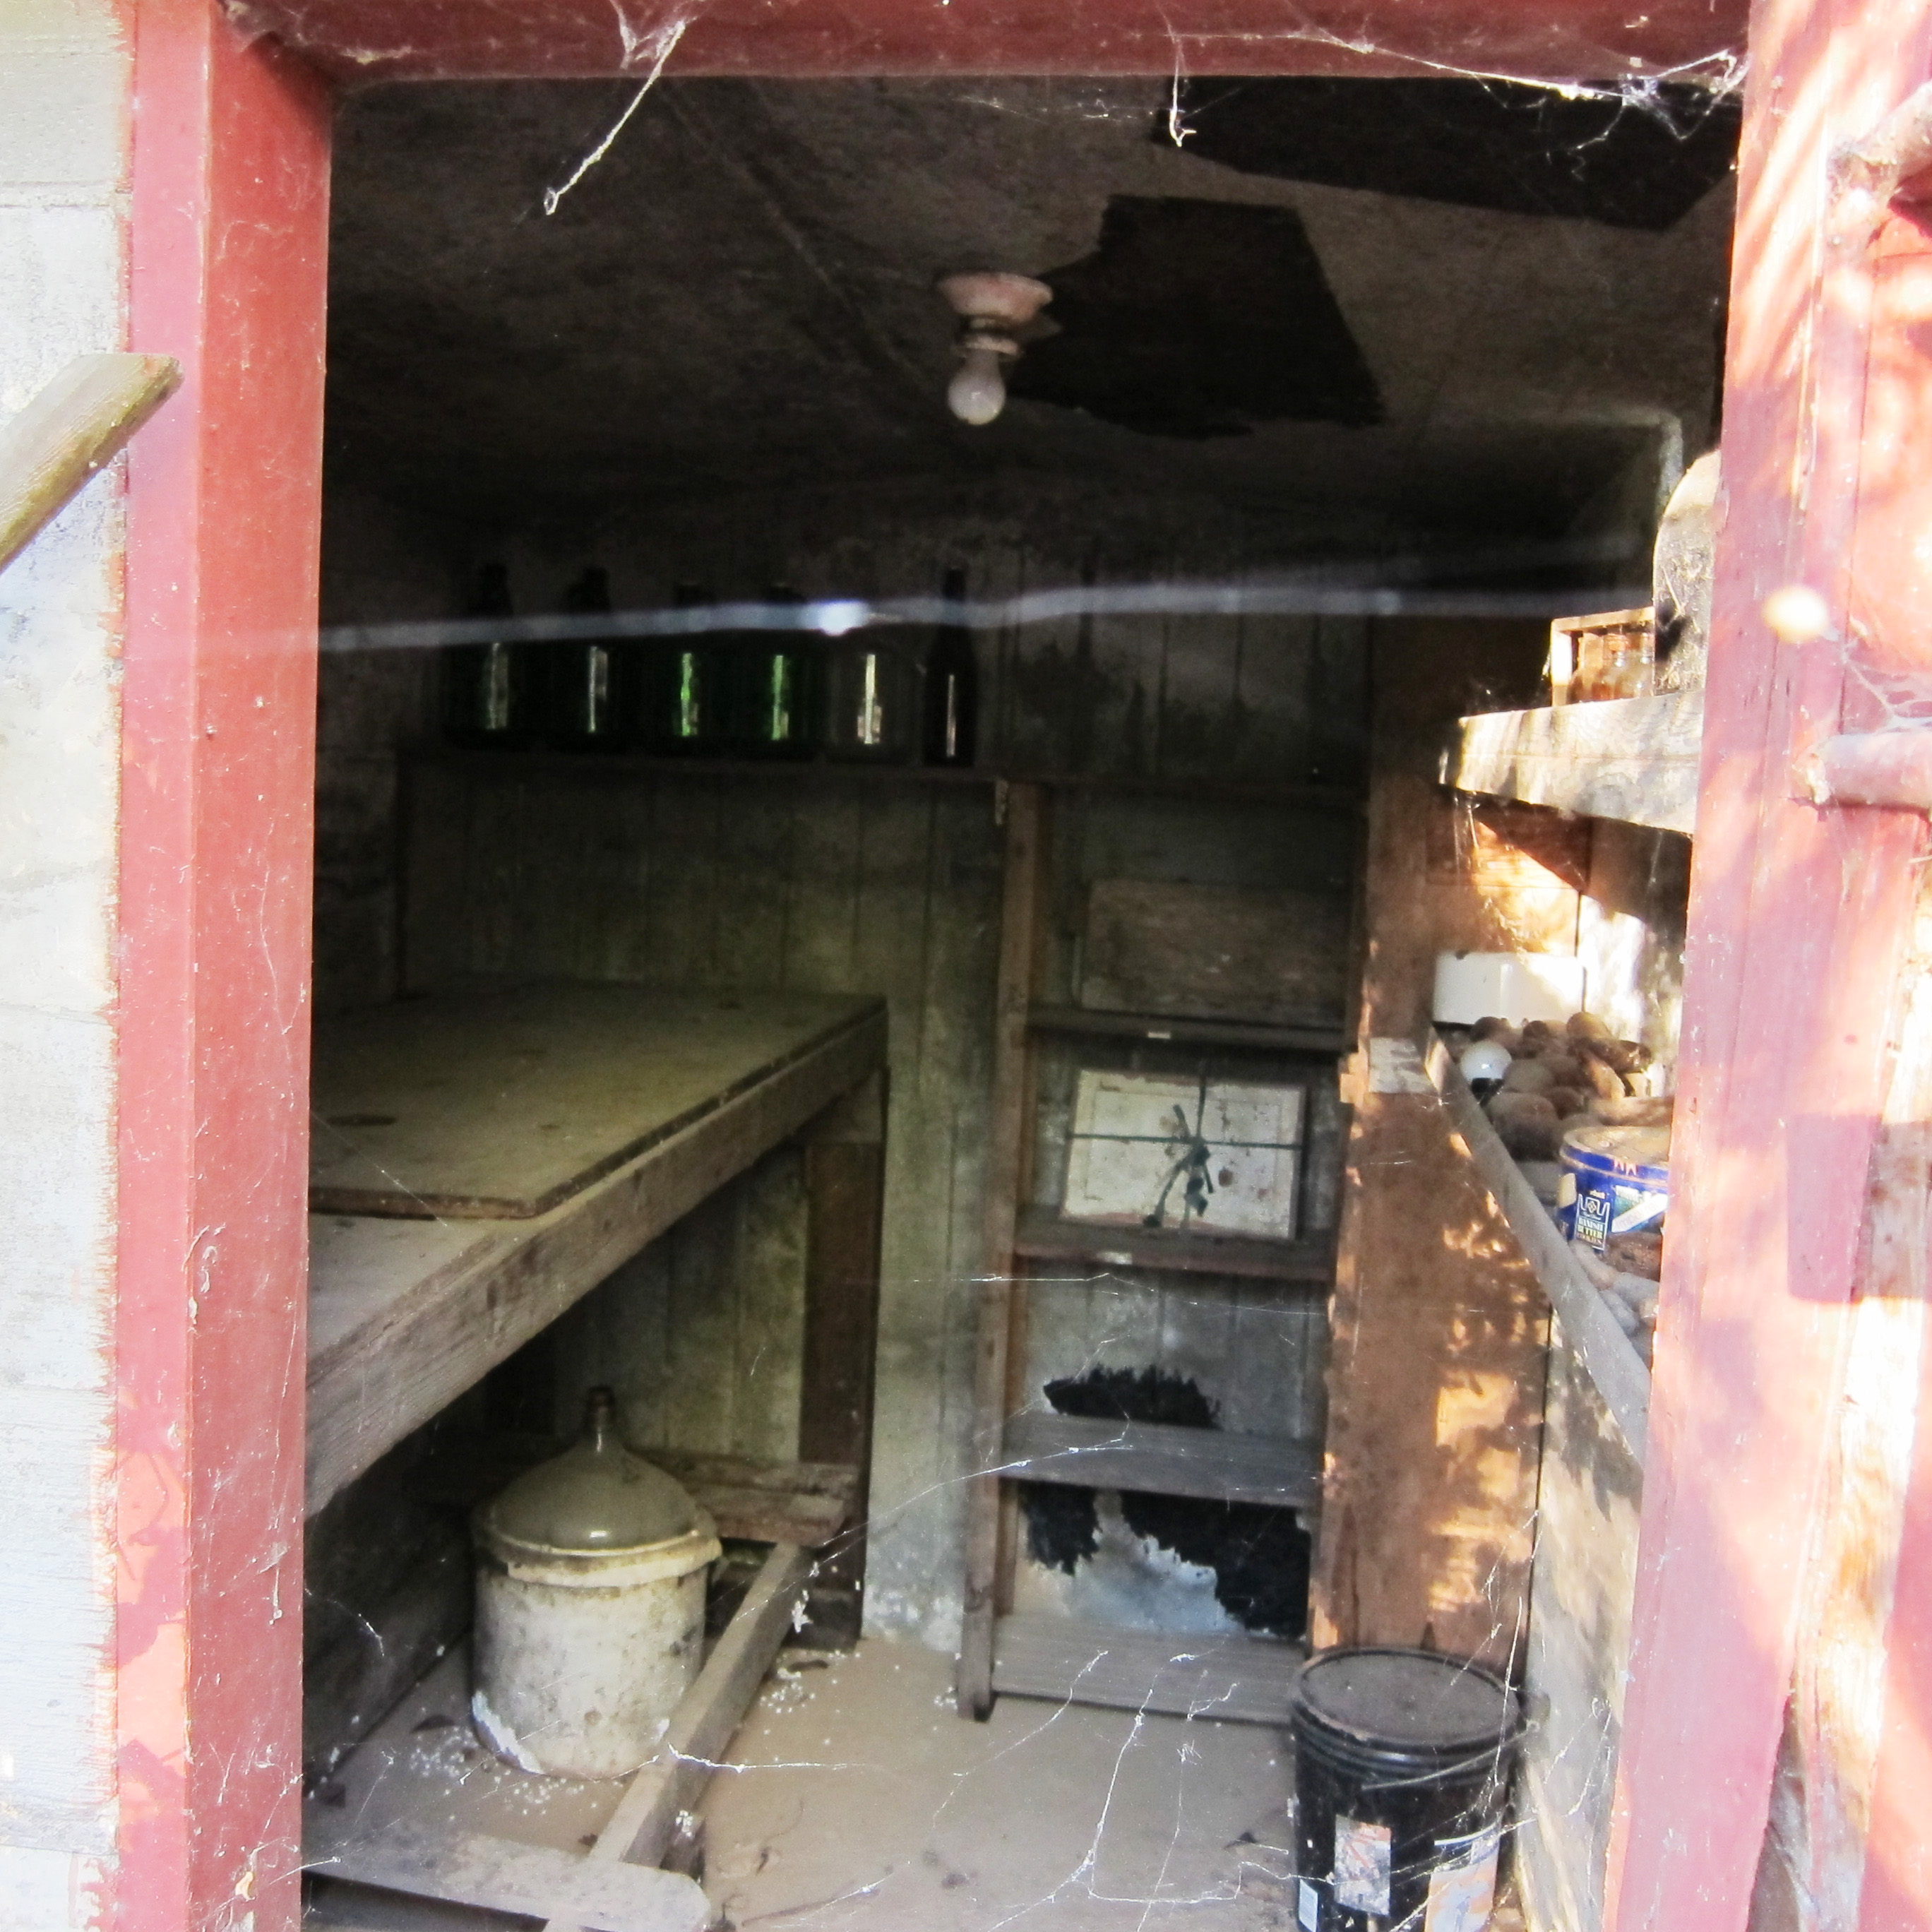
You couldn’t pay me to go into this cellar unless someone goes in first and ushers the spiders to new locations.  It is covered in a thick blanket of dirt and dust and webs.  But it’s so cool!  The old man from whom my fil bought this property kept barrels of either cider or vinegar or wine in there.  It digs into the hillside.  It would be a great fruit and vegetable and canned goods cellar if it was cleaned out.

My camera wasn’t cooperating with me much here – this is a small Kalamata olive tree my fil planted for me.  It’s one of the sweetest things anyone has ever done.  Kalamatas are my very favorite olive of all time and olives grow well in Sonoma so I really wanted to have some of my own.  He planted two but the other one died – unless I just couldn’t find it.  This one is still quite small – I don’t think it’s getting enough water.  Olive trees are not necessarily big trees in the first place and they do thrive without much water once they mature.  This little one is proof of it – he may be diminutive but he’s completely healthy!  I mean – every leaf is disease free and lush.  Now all he needs is a pollinator.

Yes, I’m aware of the kind of work it takes to cure olives.  I’ve done some research on it and it’s exactly the kind of food making challenge I love with the possibility of great rewards.  My dad has a property in Sonoma County too and has a stand of olive trees that he presses olives from – they make a wonderful olive oil – I’m not sure exactly what kinds he has but some of them are eating olives too and he says I can pick and cure some this winter because it’s a good harvest year.

This is a mostly wild partially terraced garden area.  Before we moved to Oregon my fil let me run wild on his property, just like the apples, and gave me permission to build a garden here.  The big problem was irrigation (there’s well water and even a pump house but the property is mostly up-hill and planning irrigation systems isn’t my strong suit.  Planning garden spaces IS.  This whole sunny hillside directly behind his house would be perfect as a terraced garden in the Italian style.  I’m hoping he’ll let me run wild again and get back to work on taming parts of the property to grow food on for all of us.   There are lots of challenges to such a project: irrigation, root protection from moles and other underground beasts, deer, and soil.  Still – every time I’ve been on his property I see what it can be and a little of what it was.

But even if he prefers I don’t do any garden planning – he’s still generous with the fruits that grow wild there.  Right now I’m processing his Santa Rosa plums which he let me pick.  I got about 15 pounds of them and by the morning after I picked them I had to toss a couple of pounds for having gone bad – it happens fast with these plums!  I got two batches of plum liqueur going and one small batch of sweet and sour plum sauce for dipping egg rolls and pot stickers in and I am going to make either jam or jelly with the rest.  Santa Rosa plums are really juicy so it will probably be more challenging to make a jam from them but that’s what I really want to do.

It feels good to be digging my hands into my first food preserving project in the new house.  The preserving season is officially OPEN.