Category Archives: Recipes

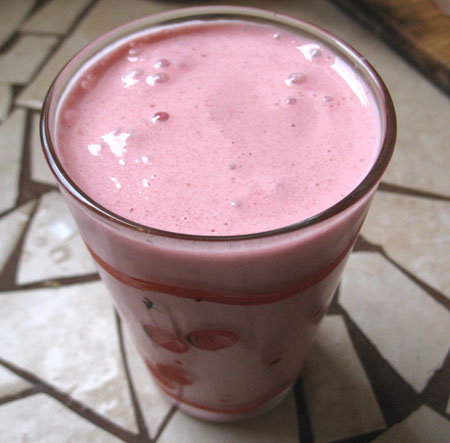
Strawberry Milkshake

strawberry milkshake

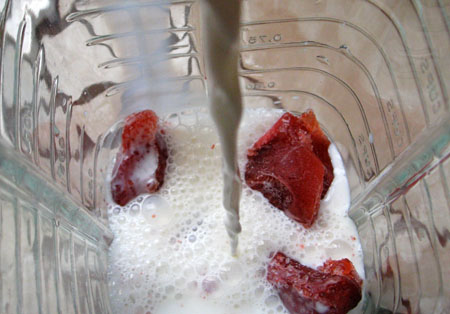
Pouring the milk into the blender.

milkshake 2

This is a recipe that uses your frozen strawberries to make a milkshake that is low in sugar, high in flavor, and got my picky eater child to get some protein and fruit in his system.  It is simple, fast, and a great alternative to the more traditional shakes made with ice cream.

Ingredients:

8-10 frozen strawberries

1 cup milk (whole or low fat)

1.5 Tbsp sugar

Put everything in your blender and pulverize it until it is completely smooth.  How many strawberries you use depends on how large yours are and how thick you like your shakes.  Start with the proportions here but feel free to improvise until it suits your specific tastes.

This recipe makes 16 ounces of shake.  (One large one, or two medium ones).

Pico de Gallo: Easy, Healthy, Mexican Food

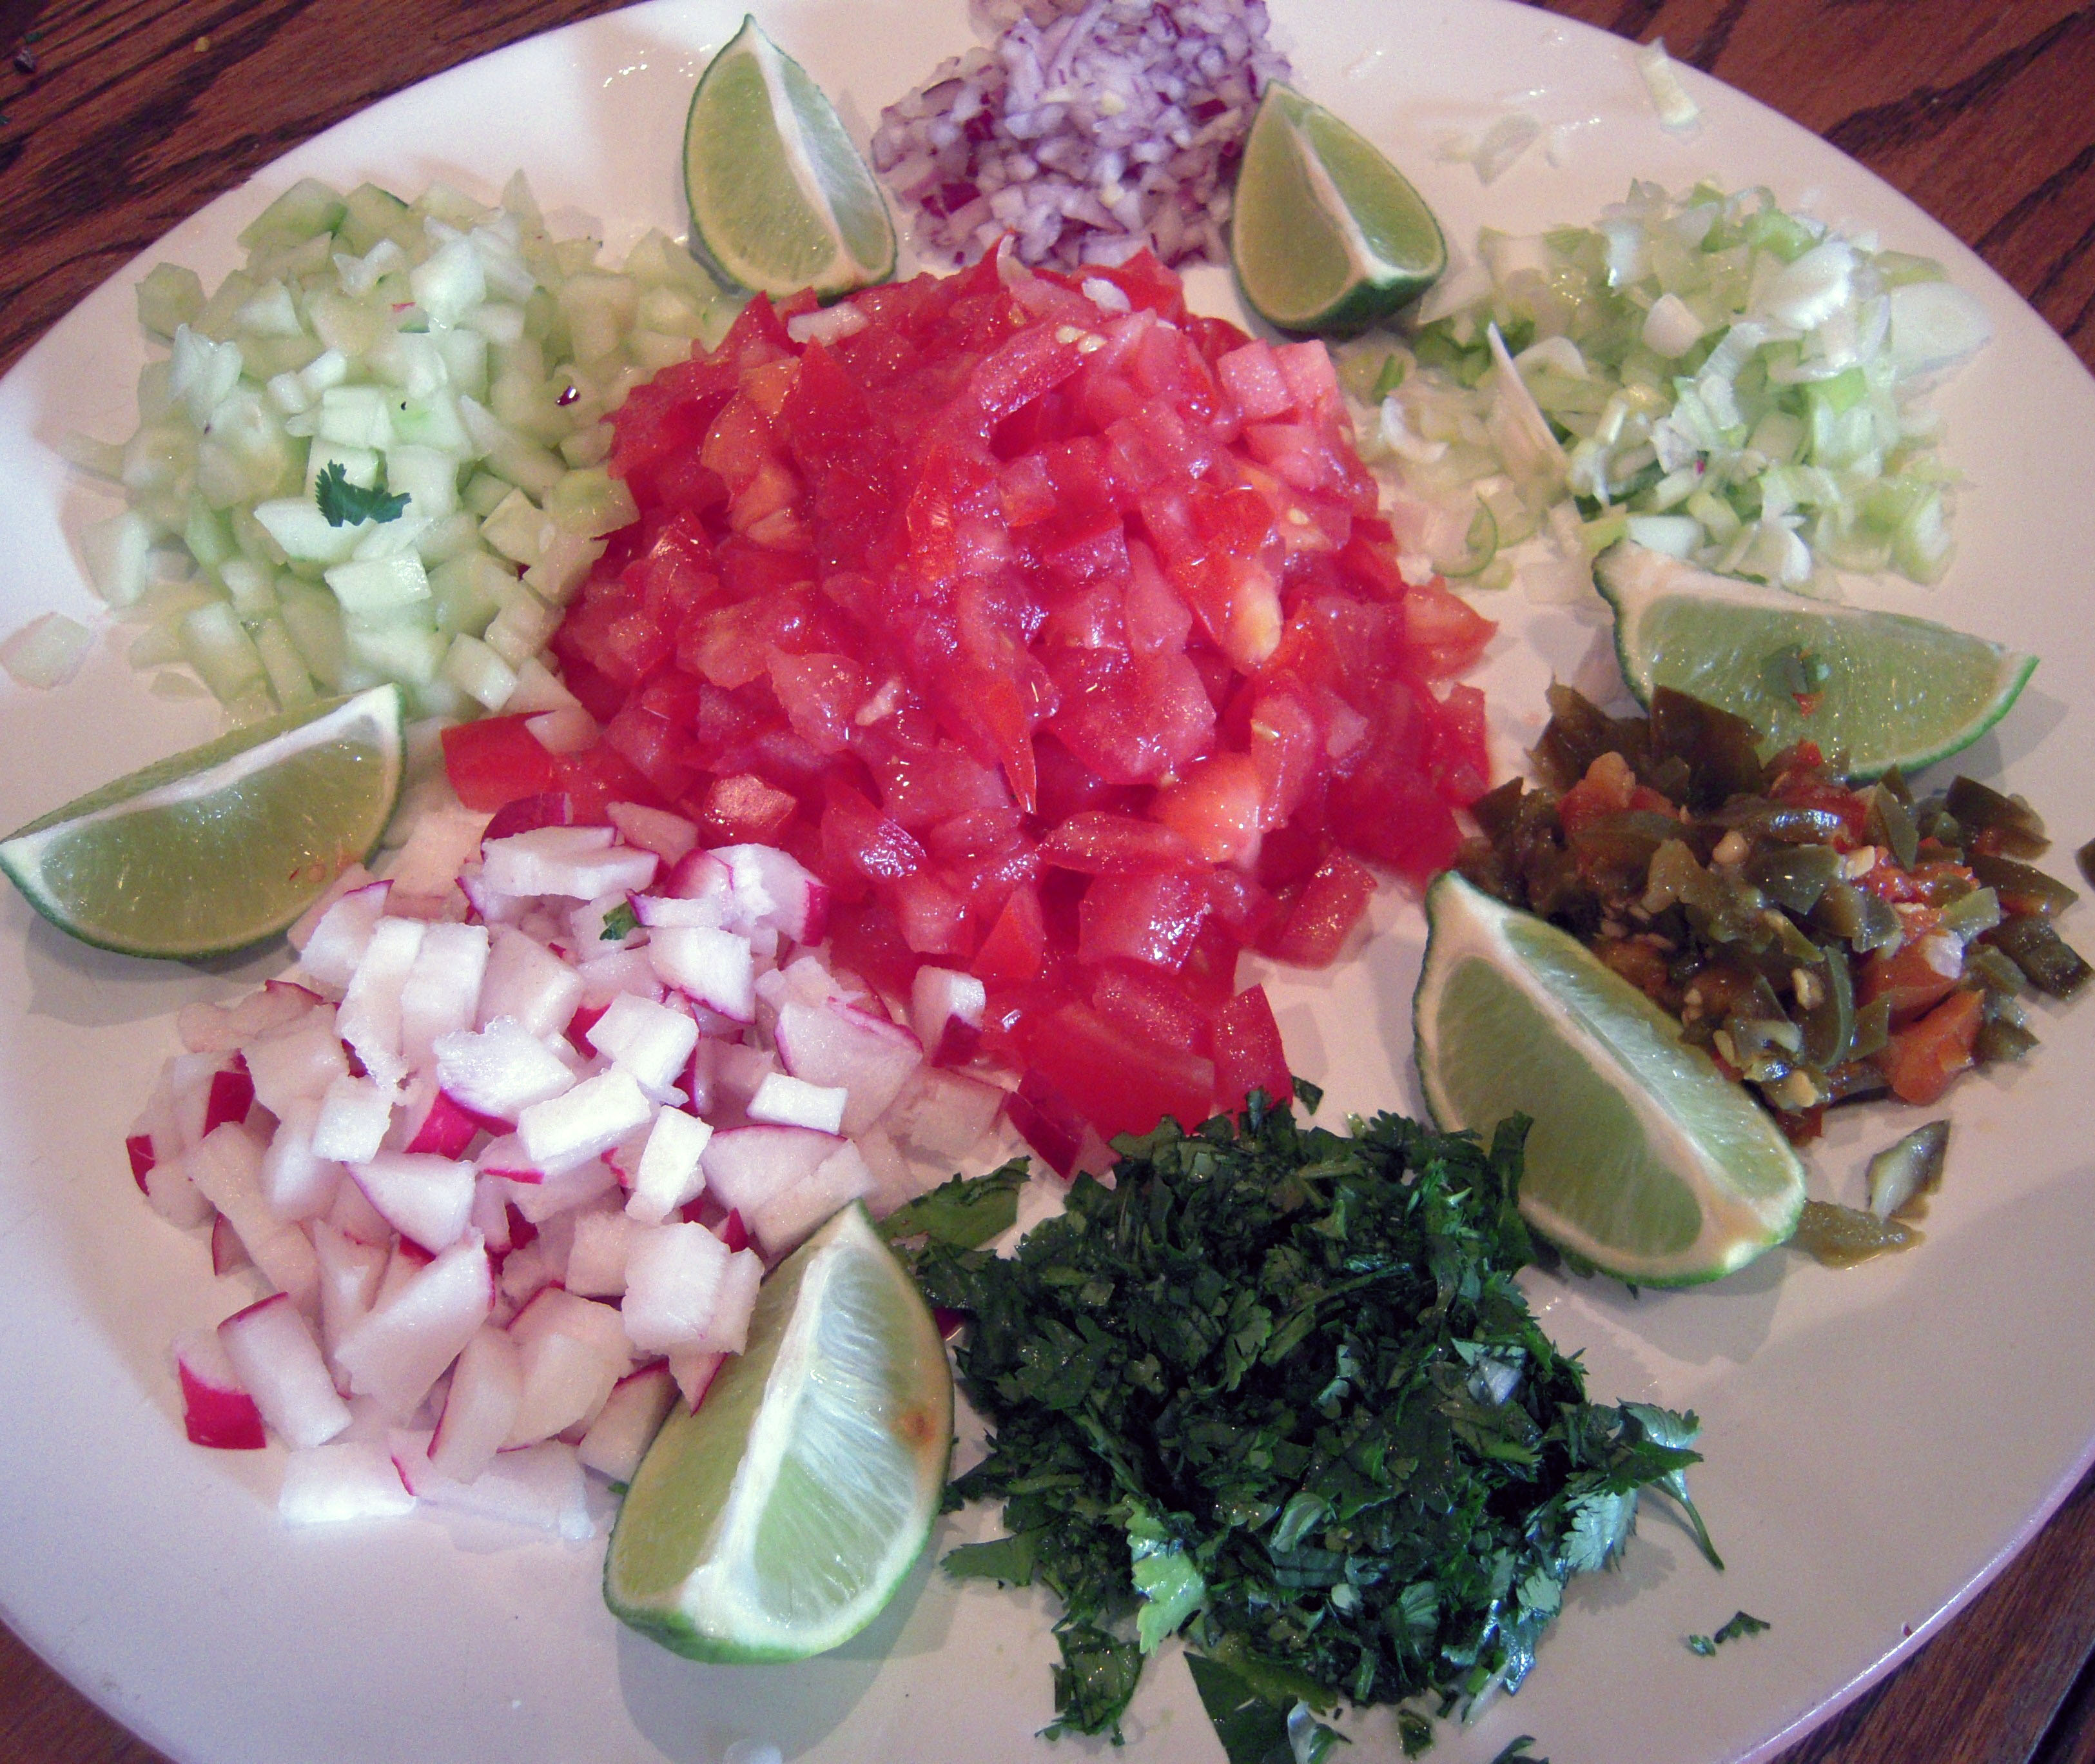
Pico De Gallo2

En la Cocina with Casa de Lulu

Here in the cocina, we are mixing up a batch of delicious Pico de Gallo today.  We are BIG fans of Mexican food and often prefer to make it rather than run down to the local taqueria.   Mexican food, especially in California, is fresh, delicious and actually very nutritious if you make your own.  We make tacos about  once a week with different fillings and always have fresh pico de gallo or salsa to top it off.  There seems to be some confusion about the difference between to the two, especially in the supermarket.  Salsa is actually sauce and the ingredients are cooked, (or rather roasted), for a smoky spicy flavor.  Pico de gallo is fresh, and can vary depending on the seasons and what you have on hand.

Pico De Gallo 1

So here’s a basic recipe that’s easy to make and delicious to eat.  All the ingredients can be found in any store- super simple.

For 3 generous cups of pico de gallo, you will need:

3 medium ripe tomatoes

2 tbsp minced red or white onion (not yellow!)

½ cup chopped cucumber

½ cup chopped radishes

2 tbsp of minced pickled (in the can) jalapeños

¼ cup minced scallions (optional)

¼ chopped cilantro

Juice of one lime

¼ tsp of granulated garlic powder*

1 tsp kosher salt**

Fresh ground pepper

Pico De Gallo 2

First, take the minced onion and let it soak in water for about 5 minutes- this greatly reduces its potency and allows the flavor to marry well with the other ingredients.  Place all ingredients in a bowl, then add juice and salt and pepper.  That’s it!  Es muy facil, no?

*Heads up all you Twilight fans- notice I add garlic powder not fresh garlic to this recipe.  This is up to you.  I find that fresh garlic is just too potent and overpowers the other flavors.  So if you want to hang out with that pretty boy vampire and knock down some margaritas, you’ll want to go easy on the garlic,  okay?

**Be careful about adding too much salt to this recipe- if you plan on eating this with chips, there’s already plenty of salt on them and you don’t want to sully the flavor too much.

Here’s some variations of the basic recipe that I’ve tried:

  • With beef tacos, I add oregano and lemon juice instead of lime
  • With lamb, I add fresh mint and orange juice
  • With fish, I add some mashed up avocados and chopped red cabbage

Cherry Liqueur Recipe

The color is gorgeous.  I especially love using Morello cherries.

imbibe

They are hard to find so you may have to plant your own tree!

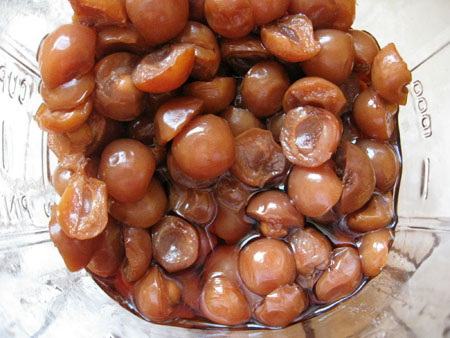
inebriated cherries

Cherry Liqueur Recipe

Ingredients:

1.5 pounds sour red cherries, cut in half with the pit left in one side

1.5 cups granulated sugar

2.5 cups 100 proof vodka

small piece of cinnamon

Method: You put a third of the cherries in a half gallon sized jar, then pour a third of the sugar in. Do the next third of the cherries and the next third of the sugar. Then do the last third of both. So it is layered in the jar. If you want to use the cinnamon add it now. Then pour the vodka in. I guess the layering is just for fun because then you stir it all up. Every recipe I’ve read always calls for layering the ingredients in the jar first. Stir it up, cap it, and then put it in a cool, dry, dark place.

For the first two weeks shake the jar up at least once every day. This makes sure that the sugar completely dissolves. After that let it age for 3 months.

Strain out the cherries and pour the liqueur into bottles.

Recipe Notes: I have made many attempts at cherry liqueur and all of them were unsatisfactory until the last batch I made which was perfect!  I confidently recommend that you only make it using a pie (sour) cherry.  It doesn’t matter what kind as long as it has red skin to contribute color.  Definitely leave the pits in, they add a very subtle almond flavor to the drink which makes the flavor more complex.
I also highly recommend that you use 100 proof vodka (or everclear).  If you are using 80 proof I would lower the sugar content or it will be more like cough syrup than a fruity enjoyable beverage.  The next time I make this it will be without the cinnamon.  Although I enjoyed the slight spiciness it added to the flavor, I want a clearer cherry flavor.

Mushrooms, Dandelion Greens, and Pasta in a Cheese Sauce

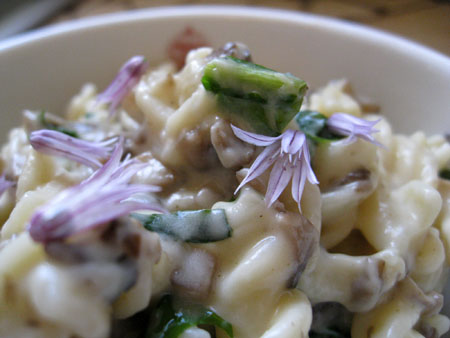
pasta with chives 2

Ingredients:

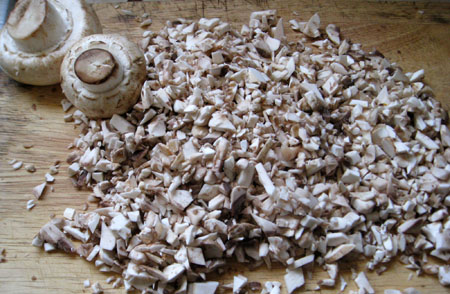
1 lb finely chopped mushrooms (finely chopped)

1 large fistful of dandelion greens (finely chopped)

1 tbsp of olive oil

3 round tbsp flour

3 tbsp butter

2 tsp salt

20-40 grinds of pepper (to your taste)

1/8 tsp cayenne pepper

3 cups milk (I use 2%) (warmed)

2 cups gruyere cheese (grated)

1 lb of Rotelli pasta

 mushrooms 2

Method:

In a sauté pan, on med/high heat, warm the olive oil.  Add the finely chopped mushrooms.  Sauté until the juices are released and have cooked off.  Add the chopped dandelion greens.  Cook just until the greens are wilted.  Remove from heat and set aside.

Put a pot of salted water on to boil in a large pot for the pasta.   Keep your eye on it while making the cheese sauce.

Meanwhile…

Combine the flour, salt, and peppers in a ramekin and mix it together with a spoon (or a tiny whisk if you have one).  Warm the milk either in the microwave or on the stove top so it will be ready when you need it (do not boil it!).  Have the cheese already grated.

(When the salted water boils, add the pasta and cook for the recommended time, usually about 10 minutes for Rotelli, then drain.)

In a medium saucepan, on medium heat, melt the butter.  As soon as the butter begins to bubble whisk the flour into it.  It should have a paste-like consistency.  For two minutes continue to whisk the flour paste in the pan not allowing it to brown.

Now slowly add the warmed milk while continuing to whisk briskly to prevent lumping (be sure to whisk into the corners of the pan too).  Once the milk has been thoroughly combined with the paste, it will begin to thicken.  It is crucial not to let the sauce boil.  Whisk frequently until it has thickened to the consistency you like your cheese sauce to be.

Remove from the heat.  Gently stir the cheese into the sauce until it is all melted.

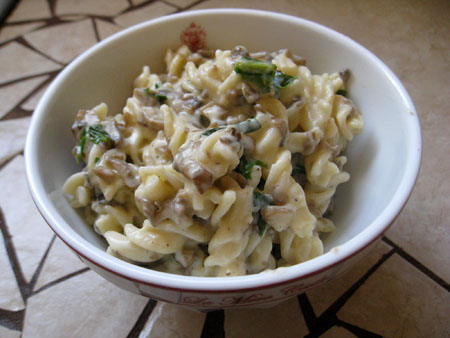
Using the pot you boiled your pasta in, combine your drained pasta, the cheese sauce, and the sautéed mushrooms and greens.  Taste for salt and pepper.

Serve hot with a garnish of chive flowers.

Recipe Notes: Mushrooms- you can use any kind of mushrooms in this recipe.  Use wild ones if you have them, or a combination of wild and cultivated, such as Crimini or white button mushrooms.  Since I don’t know how to forage for them in my region and can’t afford to buy wild, I usually use Crimins which are my favorite.

Cheese- Gruyere or Emmental are fantastic choices to accompany the mushrooms.  However, I can’t afford to buy those here so I generally use a very sharp aged cheddar.  Don’t use a cheese that is too mild (such as jack or medium cheddar) because the flavor will be lost in the cream sauce.
It doesn’t take long to make the cheese sauce so it’s important to have the pasta cooking at the same time.  The only exception to this is if you are using an angel hair pasta that only takes three minutes to cook.  My best advice with this dish is to have all your ingredients out and ready to go so you waste no time looking for things or measuring.

 mushroom cheese pasta 2

Not sure why you would want to use dandelion greens?  Find out here:
Dandelions (Taraxacum officinale): Plant Profile

Rosemary Marinade

marinade 2

Ingredients:

1 cup olive oil

1/2 cup red wine vinegar

3 tbsp mustard (spicy brown or Dijon)

3 cloves peeled garlic, roughly chopped

3 – 4 sprigs fresh rosemary, chopped roughly

1 tsp salt

many grinds of fresh pepper

Put all of these ingredients in a deep bowl or measuring cup (large enough to use with an immersion blender*). Blend them until the marinade is thickened and all the rosemary is well chopped.

How to use this marinade: I brush it on everything I grill. It is my standby favorite. It is thick enough that it sticks to my vegetables and I love the rosemary and mustard combination. One of my very favorite ways to use it is to roast the following vegetables:

eggplant

mushrooms

onions

summer squash

Then chop all the roasted vegetables, combine with fettuccine pasta, and add some marinade to the pasta for sauce. Serve with Parmesan.

This would also be great on tofu.


Recipe Note:  I have never used a marinade on meat (because I have never been a meat eater) so I can’t say if the proportions of vinegar and salt are enough to partially cook meat before being grilled as marinades are often used for. I do know that this is a very flavorful way to dress anything you want to grill or broil. I don’t use it as a salad dressing because I don’t like rosemary for my salad as I think it’s too strong.

*If you don’t have an immersion blender, use a regular blender. Or a food processor. And then let me convince you that an immersion blender is so much better than a regular one.

Vanilla Pears: A Home Canned Favorite

pears in syrup 2

This recipe is a safe adaptation of the recipe for canning spiced pears from the Ball Blue Book Of Canning.   When my friend Lisa E and I were making canned pears together she had some vanilla bean pods she needed to use up and she thought it would complement the flavor of the pears, so we used less of the traditional cinnamon and cloves and cooked the pears in a sugar syrup with cut up pieces of vanilla.

The addition of vanilla gives these pears a wonderful delicate taste that can be enjoyed alone, in galettes, or on yogurt (one of my favorite ways to eat them).

In this recipe it is safe to substitute different spices.  If you don’t like cloves, use nutmeg instead.  You can use one spice, two, or  as many as you like for a custom flavor.  I love pears with nutmeg but Lisa prefers hers without.  Don’t be afraid to experiment.*

Ingredients:

2 to 3 pounds pears per quart

sugar syrup

cinnamon sticks

whole vanilla beans

whole cloves

canned pears 2

Instructions:

Hot Pack:  Wash pears; drain. Cut into quarters or halves; core and peel. Treat to prevent darkening (highly recommended – I use “Fruit Fresh” which you can find in almost any store that has a canning supplies section). Make a light syrup (we used a 30% syrup last year and a 20% syrup this year. You don’t have to use a syrup at all, but I recommend it because it helps preserve the texture and the color.) Cut up a whole vanilla bean into approximately 3/8″ pieces and add them to your sugar syrup. Splitting the bean down the center will help release the vanilla seeds into the syrup. Keep syrup hot.

Cook pears one layer at a time in syrup for 5 to 6 minutes or until hot throughout. Put a small piece of cinnamon bark (about a 1/2″ to 5/8″ piece) and 3 to 6* cloves in each hot jar. Pack hot pears into hot jars leaving 1/2″ head space. Remove air bubbles. Adjust two piece caps. Process pints 20 minutes, quarts 25 minutes, in a boiling-water bath canner.


Recipe note:
  Remember that cinnamon and cloves will get stronger the longer they are in the jars so if you like a much spicier flavor, add more, but we used only three cloves per jar so that the vanilla (much more expensive) is the main flavoring. The vanilla accents rather than hides the pear flavor

How to Make Sugar Syrup For Canning
*If you are ever concerned about whether or not a substitution in a canning recipe is safe, always call your local Extension Service to find out.  Generally substitutions are discouraged but with many recipes it is safe to alter spices as they don’t change the PH of the food and account for a very small percentage of the total volume of your ingredients.


Walnut Pesto

walnut pesto 2

This is just about the easiest sauce to make. It’s also quite fast.   If you weren’t aware of it, you may like to know that walnuts are rich in the fatty acids every health guru has been going on and on about lately. The Omega-3’s.   So this is a healthful dish. Will this cost you many points in calories? Heck yeah. But if you only eat a cup of it, and the pasta is home made, the points are not wasted on your hips.

Here’s what you do to make it:

Put the following ingredients in your food processor;

1 1/2 cups lightly toasted walnuts

1/3 cup olive oil

3 medium garlic cloves (roughly chopped)

1 tsp salt

freshly ground pepper to taste

1/4 cup boiling water

Pulverize the heck out of it. When it’s all ground up, slowly add the olive oil.
When you’ve got a smooth paste, add about 1/4 cup boiling water.

Add it to 16 oz  hot cooked pasta of your choice.  (You can use half the walnut sauce on the 16 oz of pasta if you like a real light coating of sauce, or you can use it all.  I prefer more sauce.)

Recipe Note: You can add a little of the pasta cooking water to the sauce to make it even creamier.  I always add a liberal amount of Parmesan to each serving but it is delicious without the cheese.  An excellent accompaniment to this dish are roasted vegetables, my favorite being roasted asparagus.


Mustard Lentil Salad

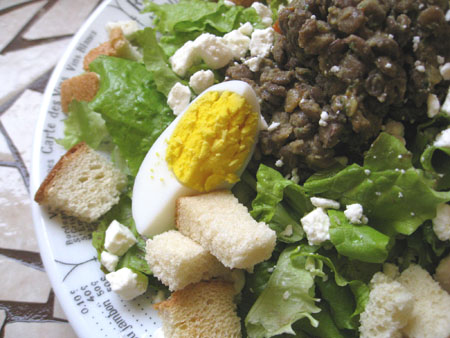
lentil-salad

One of the biggest staples of my fridge is a ready batch of mustard lentil salad. It’s good by itself but is even better scooped onto a large bed of lettuce with some feta, croutons, and a hard boiled egg. One of the biggest blessings of this recipe, aside from being very easy, is that it is high in protein and reasonably low in fat. Fresh parsley is an amazing accompaniment to lentils for flavor and for it’s vitamins, minerals, and the digestive qualities it offers. I always keep fresh parsley growing in my yard just for this recipe.

Mustard Lentil Salad

Ingredients:

2 cups dry lentils, rinsed

2 Tbsp olive oil

1 onion, diced

2 stalks celery, sliced

2 carrots, sliced med/thin

Dressing:

1/4 cup olive oil

1/4 cup red wine vinegar

1/4 cup of favorite mustard (I used a spicy brown mustard)

1/4 cup (or more) fresh parsley

1 1/2 tsp salt (or more, to taste)

Hell of a bunch of grinds of black pepper

Method:

In a pot big enough to cook two cups dried lentils heat up the olive oil on med/high heat. Add the onions, saute until they start turning transparent, then add the celery and carrot. Saute all the vegetables for five minutes before adding the lentils and covering with water to about an inch above the lentils. Turn the heat down to low and simmer for as long as it takes for the lentils to be cooked through perfectly, usually between 2o minutes to a half an hour. If there is any water left at the bottom of the pan, drain the lentils in a colander and return to the pot, but not to the stove.

To make the dressing for the lentils:

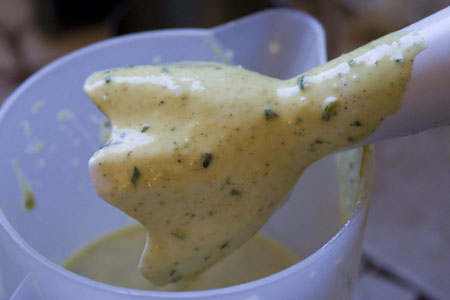
In a container that will accommodate an immersion blender add all of the dressing ingredients. Then pulverize it until it is thick. Add to the lentils and stir well.

You can eat the lentils at room temperature, hot, or cold. I nearly always eat it cold as a salad. If you are eating it by itself it obviously needs no dressing, but when I put it on a bed of lettuce I add some dressing to the greens. You can cut down on fat by not doing this but I like a well oiled salad. Plus I like fat.

How I serve it: I put a big bed of lettuce on a dinner plate. I put about a cup of the lentils scooped onto the top. I add a sliced boiled egg, about a half a cup of croutons (when I’m being conscious, or about a cup when I’m not minding my manners and my waist), and about an ounce and a half of feta cheese.

This is a filling and very wholesome lunch or dinner. It includes protein, dairy, legumes, greens, grains, and a whole heck of a lot of vitamins and minerals. As far as calories are concerned I know that eating it as I often do will land you around 700 calories. If the rest of the food you eat in the day is leaner and smart I think the calories here are very well spent.

Note: If you have one cup of the lentils on one cup of lettuce with one ounce of feta cheese and 1 tbsp dressing for the greens it has only 470 calories. That’s also a good way to eat it and not spend so much of your daily calorie intake in one meal. I did the math on this quite a while ago as I eat it a lot and it was a staple when I managed to lose weight the first time (after having a baby. Now I have it all to lose again after breaking my hip!)

Cilantro, Bean, And Rice Salad

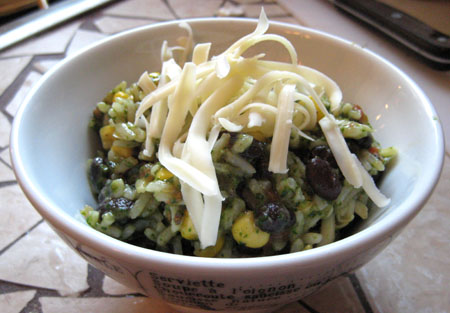
beans-and-rice-done

This is a great spring dish that uses the first fresh cilantro of the season to dress a melange of items from the pantry. You could make it in the summer too when there is fresh corn and tomatoes to be had but I don’t want to think about how much better it will be later when I’m enjoying the spring version now.

 cilantro-pesto

Cilantro Pesto Ingredients:

1 large bunch fresh cilantro, washed and stemmed

3 garlic cloves

2-3 tbsp olive oil

salt and pepper to taste

Rice Salad Ingredients:

2 cups cooked black beans (or two cans)

2 cups cooked Basmati rice

1 can corn

1 quart diced tomatoes

2 cups grated jack cheese

1 recipe cilantro pesto

 mixing-beans-and-rice

To make the cilantro pesto:

Put all the ingredients into a food processor and pulverize the hell out of it. You’re done.

(Or if you like to go the traditional route- put all ingredients in a large sized pestle and mortar and using your muscles, grind the hell out of them all.)

To make the rice salad:

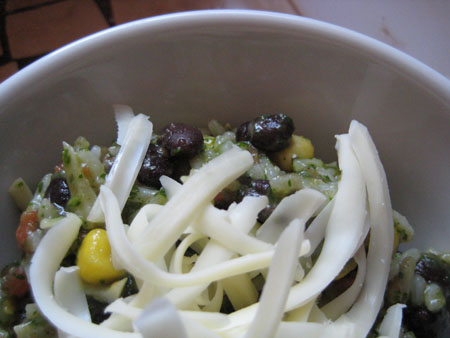
Be sure to drain the canned goods first. Then you put all of the ingredients in a bowl together and stir well. You’re finished. Dinner is ready.

Serves 6-8

Variations:

If you’re one of those people who really likes two dishes on one plate, you could serve this rice salad with roasted potatoes, or grilled asparagus. I like it as a simple one dish meal myself. It’s great at room temperature but it’s also quite good heated. If you don’t have black beans, I think it would be superb with chick peas. I also made this with pasta instead of rice and it was WONDERFUL. If you want to add some heat to it you could add chopped up roasted jalapenos. Or chopped pickled jalapenos. What brings it all together is the cilantro pesto. If you are vegan you can make this without the cheese.

 beans-and-rice

Recipe Notes: this recipe qualifies as quick if you have the black beans in a can. I had to make mine from dried which takes time. But cooking the rice takes twenty minutes and you can make the cilantro pesto and grate the cheese while it’s cooking.

Pita Bread

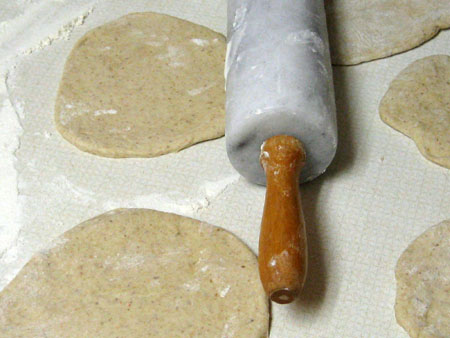
pita2

This recipe is based on one I’ve been using from Deborah Madison’s cook book “Vegetarian Cooking For Everyone” which is a book I can recommend that everyone have a copy of. It’s that good. This is an easy recipe for anyone to make, even if you’re not experienced making other breads. If you have a baking stone, put it in the oven right now, before you forget. A baking stone is the best way to bake pitas, though you can use a regular baking sheet if you haven’t got one. The stone should heat up with your oven.

Ingredients:

2 1/4 tsp (1 envelope) active dry yeast

1 tsp honey

1 3/4 tsp salt

2 tbsp olive oil (plus extra for oiling the bowl for the dough)

1 1/2 cups multi-grain flour

2 cups bread flour (plus extra for kneading)

 pita1

Put two cups of water in a large mixing bowl, stir in the yeast and honey, and set aside until foamy, about 10 minutes. Meanwhile oil a bowl for the dough.
If your yeast never gets foamy it’s probably dead because you don’t bake often enough and you should use some fresher yeast.

Stir in the salt and olive oil, then beat in the multi-grain flour until smooth. Add the remaining flour in small increments until the dough is too heavy to stir. Turn it onto a counter and knead it, adding more flour as needed, until the dough is supple and and smooth. Form it into a ball and put it in the oiled bowl, turning it to be sure the top is oiled. Cover with towel and set aside until doubled in bulk which should take about an hour.

Punch the dough down and divide it into 8 pieces if you want large pitas, or 16 pieces if you want smaller pitas. I like the smaller ones better because they are the perfect size for a mini pizza for one. Roll each piece into a ball and set them all aside covered by a damp towel or do as I do and just leave them lying around the counter until it’s time to roll them out. At this point preheat the oven at 475 degrees. Let the dough rest while the oven preheats.

When the oven is ready I roll out as many pitas as I can fit on my baking stone, which is 4 if I’m making large ones, or 6 if I’m making the smaller ones. Place each one on the baking stone and let them cook for a bout 3 minutes each. Mine never completely puff up and I don’t know the reason why. Generally speaking each one will at least partially puff up and the occasional one will completely puff up. I check the bottoms of the pitas to see if they’re done- they should have only the slightest golden coloring on the bottom.

I roll out the next batch while I’m waiting for the current one to cook. If you happen to have an enormous kitchen you could roll them all out at once, but then you must not stack them on top of each other or they will stick together.

Let the hot pitas cool down on a cooling rack high enough up that my dog doesn’t eat them.